The Ultimate Guide to Face Contour Kits: How to Choose and Use Cream and Powder Formulas for a Sculpted Look
By Charlottetilbury | Published: 2026-06-27
Category: How-to Guides
Discover how to choose and use cream vs. powder contour kits for a sculpted look. Expert tips, product recommendations, and step-by-step guide for beginners.
Contouring has become a cornerstone of modern makeup, offering the ability to sculpt, define, and enhance facial features with precision. Whether you're a beginner or a seasoned makeup enthusiast, understanding the differences between cream and powder face contour kits is essential for achieving a natural, long-lasting result. In this comprehensive guide, we'll explore the pros and cons of each formula, how to choose the right kit for your skin type, and step-by-step techniques to master the art of contouring.
Understanding Face Contour Kits: Cream vs. Powder
Before diving into application techniques, it's crucial to understand the fundamental differences between cream and powder contour products. Each formula has unique characteristics that affect how they blend, wear, and interact with your skin.
Cream Contour: The Dewy Sculptor
Cream contour products are formulated with emollients and oils that provide a blendable, buildable texture. They work exceptionally well on dry or normal skin types, as they add hydration and create a natural, skin-like finish. Cream formulas are ideal for achieving a subtle, diffused shadow effect that mimics natural bone structure. They also layer beautifully under cream blushes and highlighters, allowing for a seamless, luminous complexion.
Key benefits of cream contour kits:
- Natural finish: Cream formulas blend into the skin without looking cakey or heavy.
- Buildable coverage: You can start with a sheer layer and intensify as needed without disturbing the base.
- Skin-friendly: Many cream contours contain skincare ingredients like hyaluronic acid or vitamin E for added nourishment.
- Versatility: They can be used as eyeshadow bases or lip colors in a pinch.
For beginners, cream contour kits often include shades that are easier to blend than powders, reducing the risk of harsh lines. However, they require a bit more practice to achieve precise placement.
Powder Contour: The Matte Master
Powder contour products are typically pressed powders that offer a matte, long-wearing finish. They are excellent for oily or combination skin types, as they help control shine throughout the day. Powder contours are also easier to apply in a hurry—just a fluffy brush can deposit color exactly where you want it. They are particularly effective for creating dramatic, defined shadows that last for hours.
Key benefits of powder contour kits:
- Longevity: Powder formulas adhere well to foundation and set the makeup, reducing transfer and fading.
- Precision: With the right brush, you can achieve sharp, clean lines for a high-fashion look.
- Oil control: Ideal for those with oily skin, as they absorb excess sebum and keep the look matte.
- Easy touch-ups: Powder contours can be reapplied throughout the day without disturbing the rest of your makeup.
Powder contour kits are often preferred by makeup artists for stage or photography work due to their highly pigmented, blendable textures.
How to Choose the Best Face Contour Kit for Your Skin Type
Selecting the right face contour kit depends on several factors: your skin type, desired finish, and level of expertise. Here's a breakdown to help you decide:
| Skin Type | Recommended Formula | Why It Works |
|---|---|---|
| Dry or Dehydrated | Cream contour | Adds moisture and prevents flaking; blends seamlessly without clinging to dry patches. |
| Oily or Combination | Powder contour | Controls shine and provides long-lasting wear without sliding off. |
| Normal | Either (or both) | Both formulas work well; consider the finish you prefer—dewy vs. matte. |
| Mature | Cream contour | Hydrating formulas don't settle into fine lines as much; gives a softer, more youthful effect. |
If you're unsure, many brands offer combo kits that include both cream and powder products. These are excellent for experimenting and finding what works best for you.
Step-by-Step Contouring Guide for Beginners
Once you've chosen your face contour kit, follow these steps to achieve a professionally sculpted look:
Step 1: Prep Your Skin
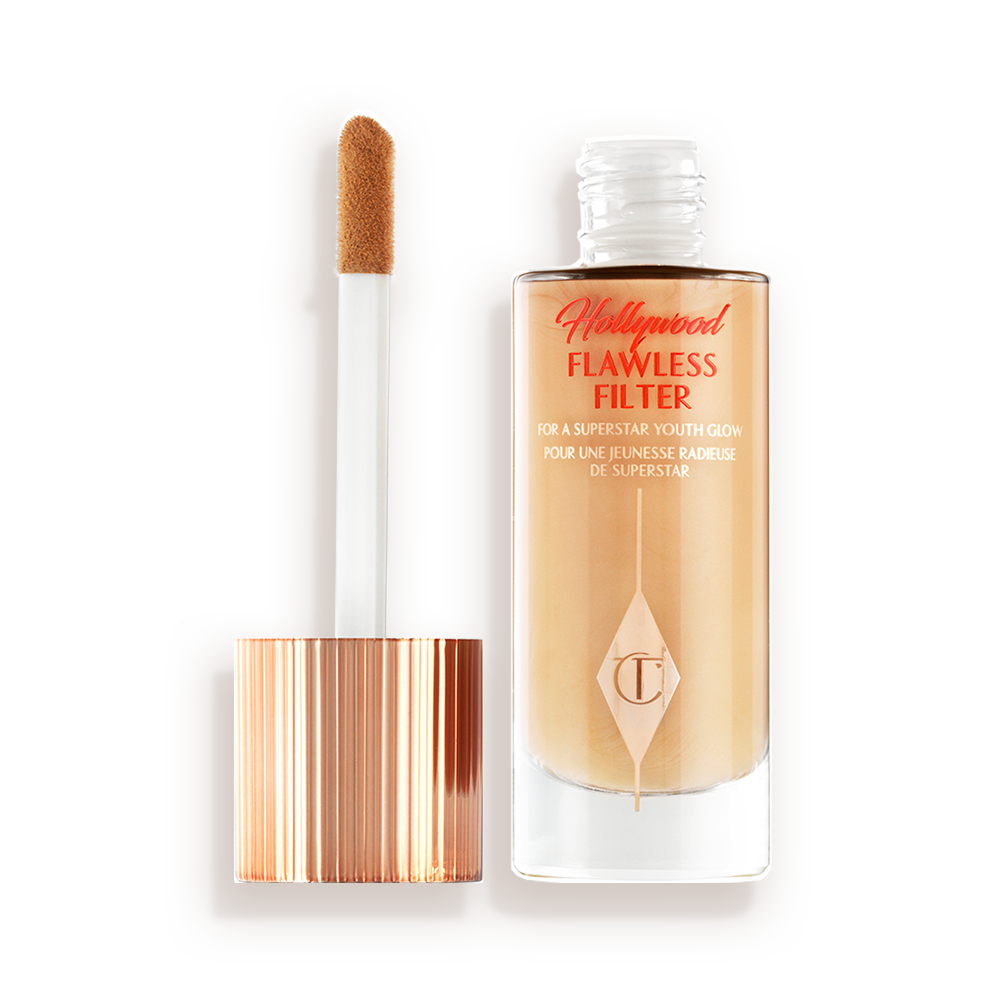
Start with a clean, moisturized face. Apply a primer that suits your skin type—hydrating for dry skin, mattifying for oily skin. For a glowing base, consider using a product like Hollywood Flawless Filter - 2.5 Fair as a luminous primer or mixed with foundation. This step ensures your contour blends smoothly and lasts longer.

Step 2: Apply Foundation
Use your favorite foundation or tinted moisturizer to even out your skin tone. For a natural look, opt for a medium-coverage formula. Allow the foundation to set for a minute before moving to contouring.
Step 3: Map Your Contour
Using a contour shade that is two to three shades darker than your natural skin tone, apply product to the following areas:
- Hollows of the cheeks: Suck in your cheeks to find the natural hollow, then apply a line from the ear toward the corner of the mouth.
- Jawline: Apply along the jawbone to define the lower face.
- Temples and forehead: Apply along the hairline to reduce the appearance of a wide forehead.
- Nose (optional): Apply two thin lines on either side of the nose bridge for a slimming effect.
Pro tip: For cream contour, use a damp sponge or synthetic brush to blend. For powder, use a fluffy angled brush and blend in circular motions.
Step 4: Blend, Blend, Blend
Blending is the most crucial step in contouring. Harsh lines will ruin the illusion. Use a clean brush or sponge to diffuse the edges until there are no visible lines. For powder contour, a powder brush with loose bristles works best. For cream, a damp beauty sponge will give a seamless finish.
Step 5: Highlight and Set
After contouring, apply a highlighter to the high points of the face—cheekbones, brow bone, cupid's bow, and the bridge of the nose. This creates contrast and enhances the sculpted effect. Set your entire face with a translucent powder to lock everything in place, especially if you used cream products.
Common Contouring Mistakes and How to Avoid Them
Even experienced makeup enthusiasts can make errors. Here are the most common contouring mistakes and tips to fix them:
- Using the wrong shade: Contour should be cool-toned to mimic shadows, not warm or orange. Stick to taupe or gray-brown shades for a natural effect.
- Applying too much product: Start with a light hand and build up. It's easier to add than to remove.
- Blending too far: Keep contour confined to the hollows and edges of the face. Blending into the center of the cheeks can make your face look dirty.
- Skipping the neck: If you contour your jawline, blend the product down onto your neck to avoid a harsh line.
Essential Tools for Flawless Contouring
The right tools can make a significant difference in your contouring results. Here's what you need:
- For cream contour: A damp beauty sponge (like a Blender) or a synthetic flat brush for application and blending.
- For powder contour: An angled blush brush or a tapered powder brush for precise placement and blending.
- For both: A fluffy blending brush for softening edges and a fan brush for highlighter application.
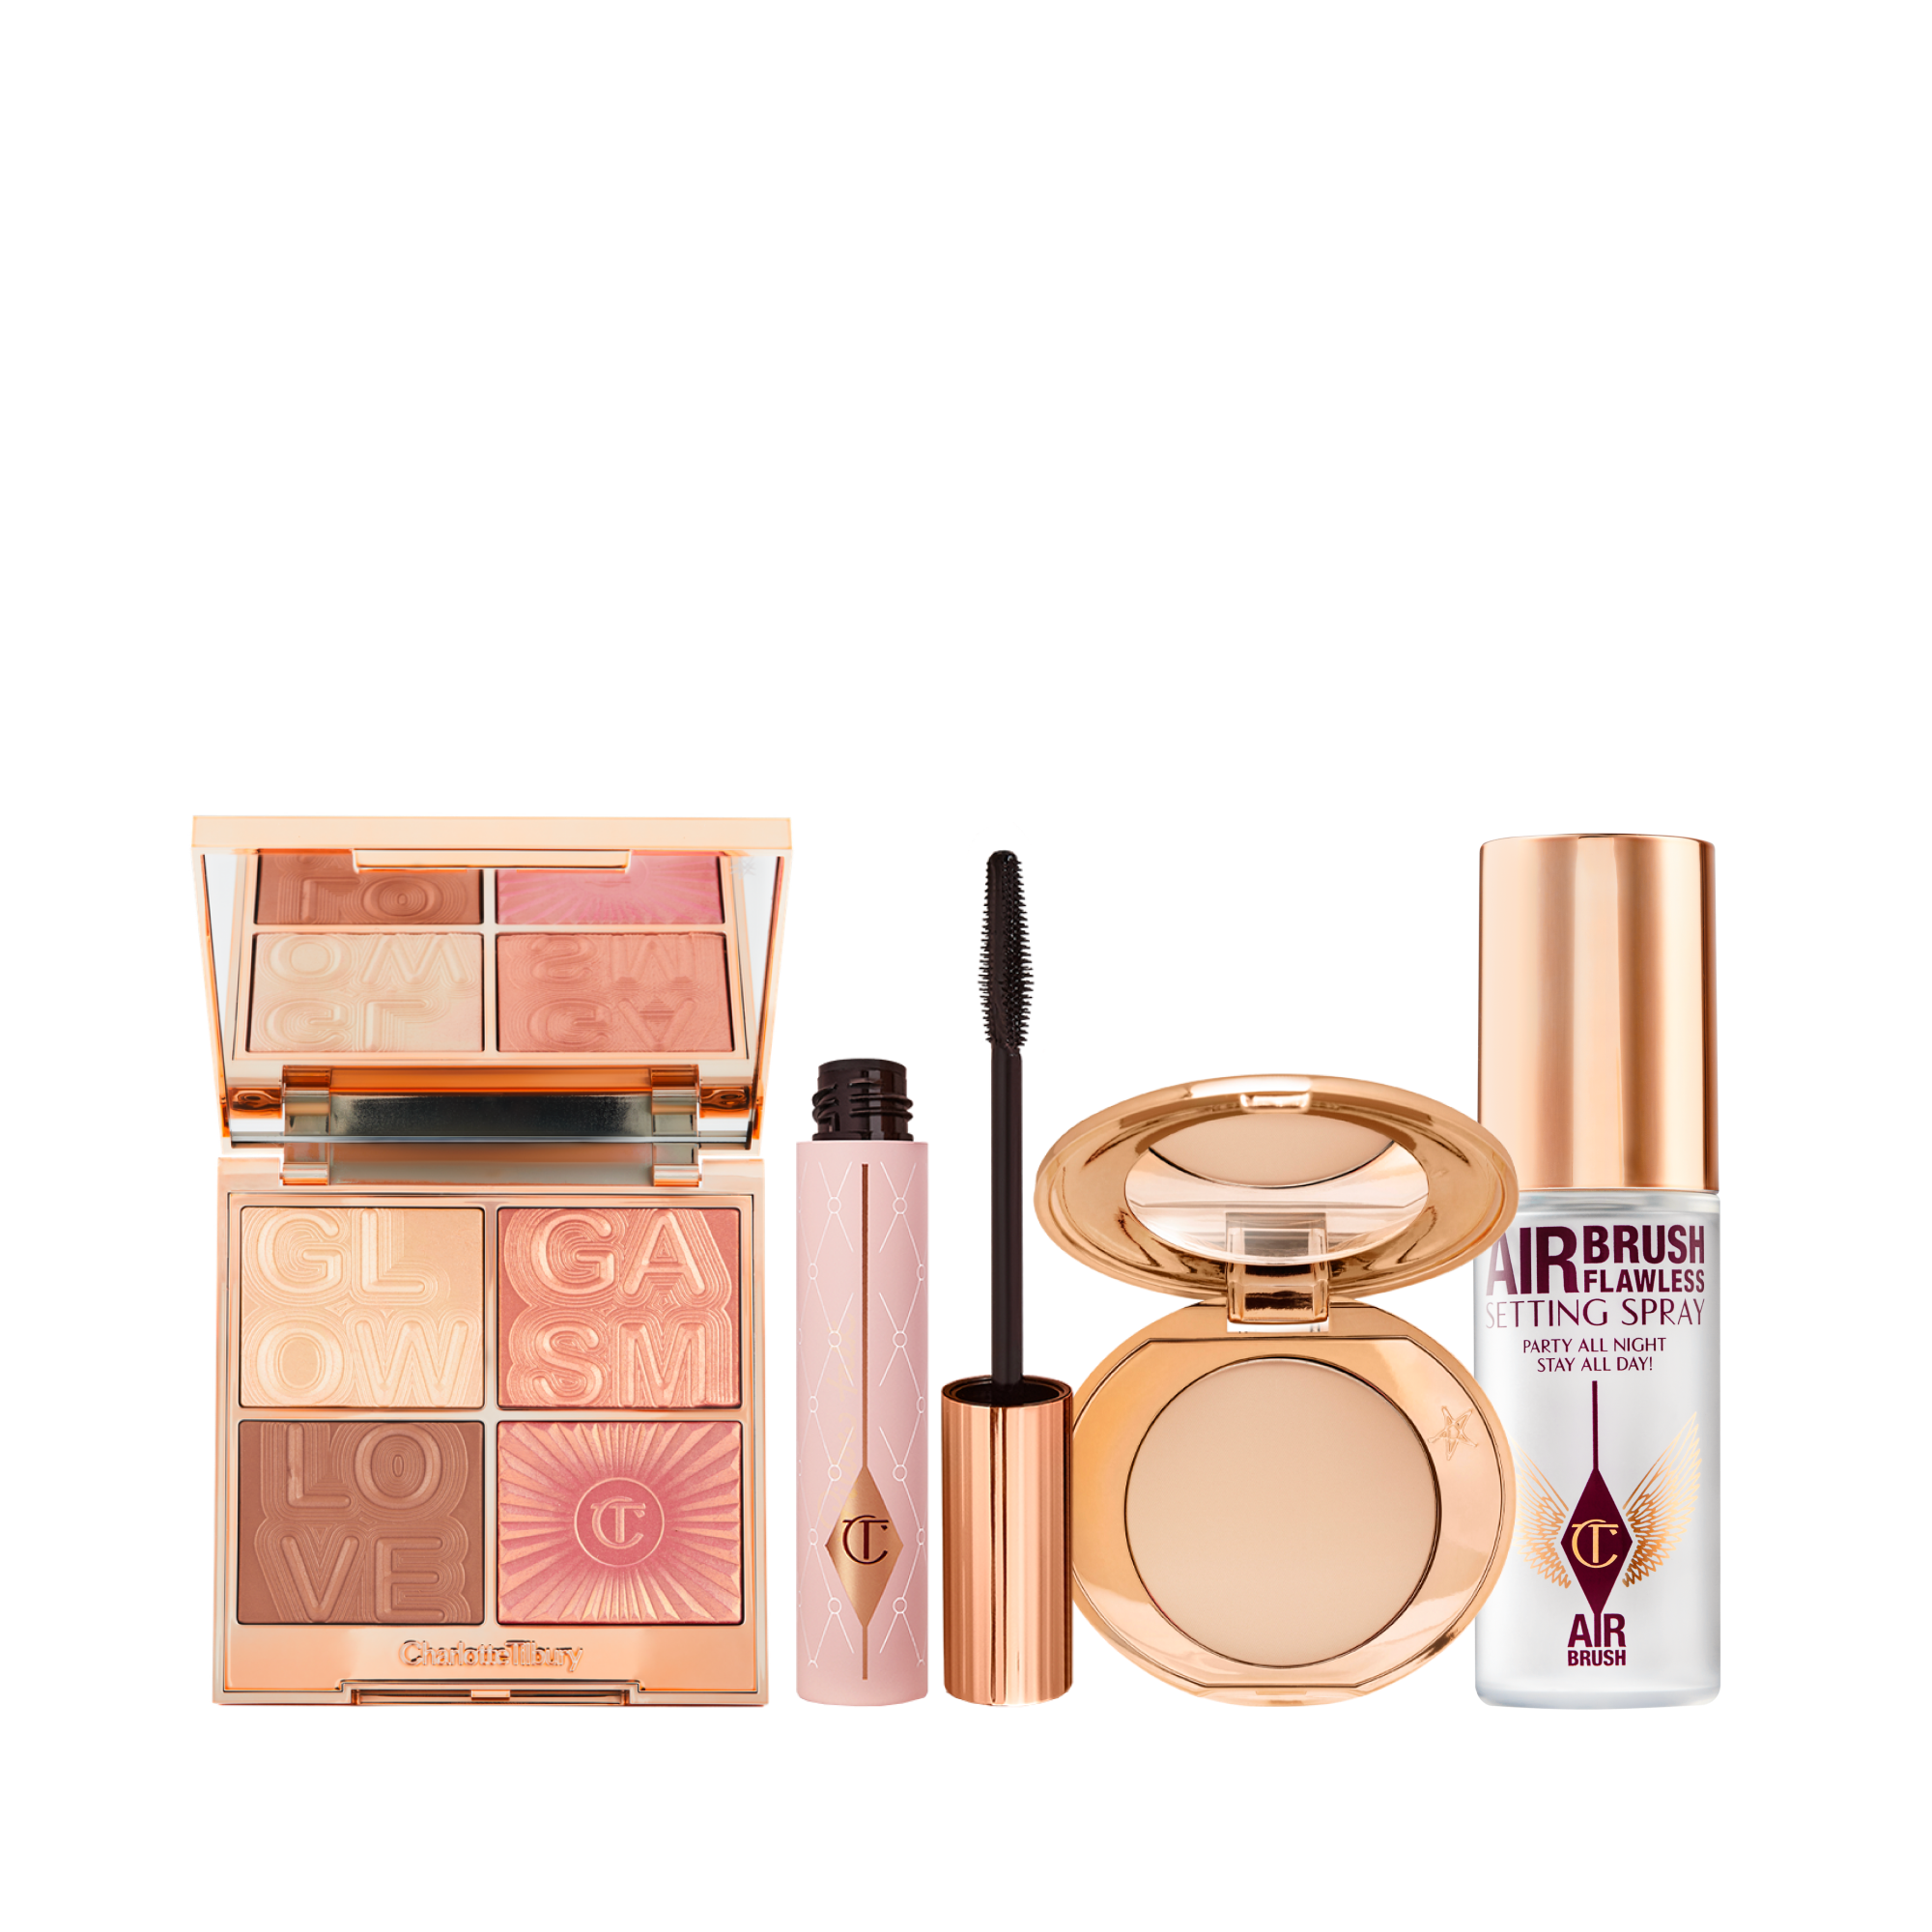
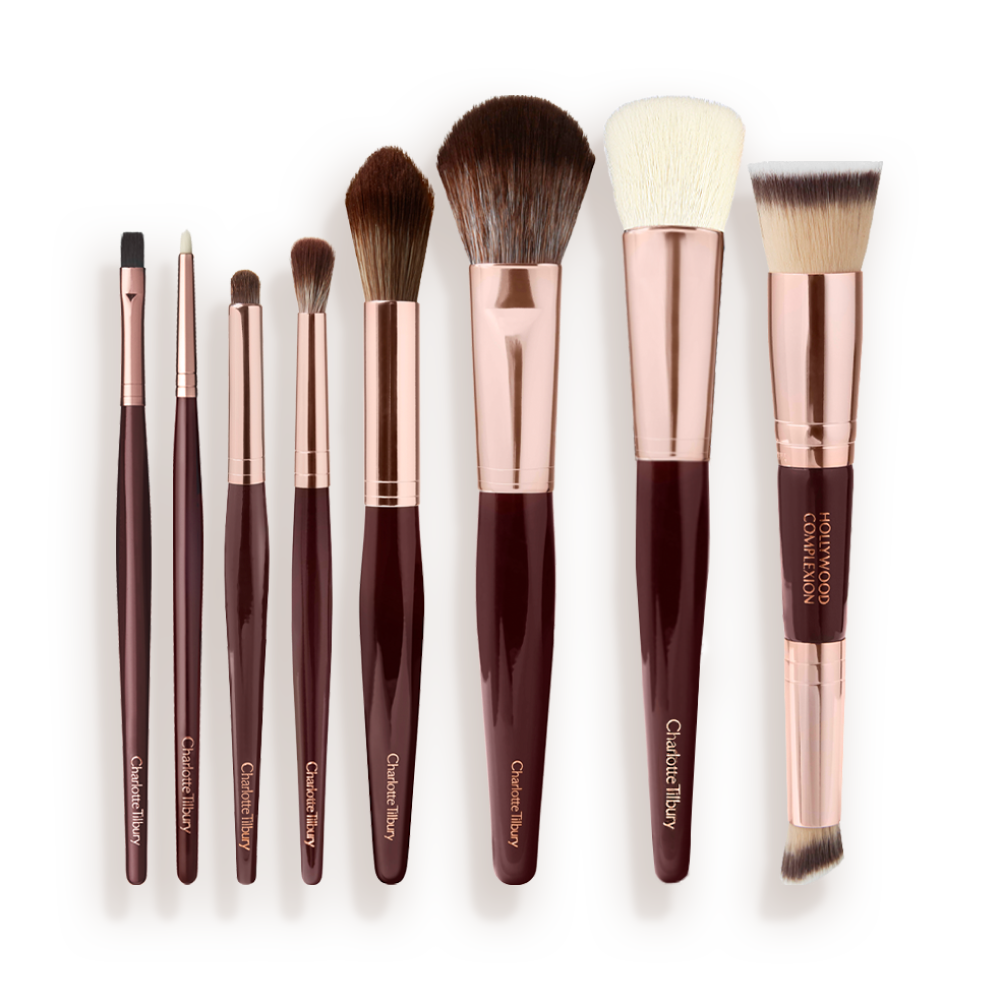
Investing in quality brushes is a game-changer. For a complete set, consider The Complete Brush Set - Rose Gold & Night Crimson, which includes all the essential brushes for contouring, highlighting, and more, in a stunning design.
Incorporating Contour into Your Daily Makeup Routine
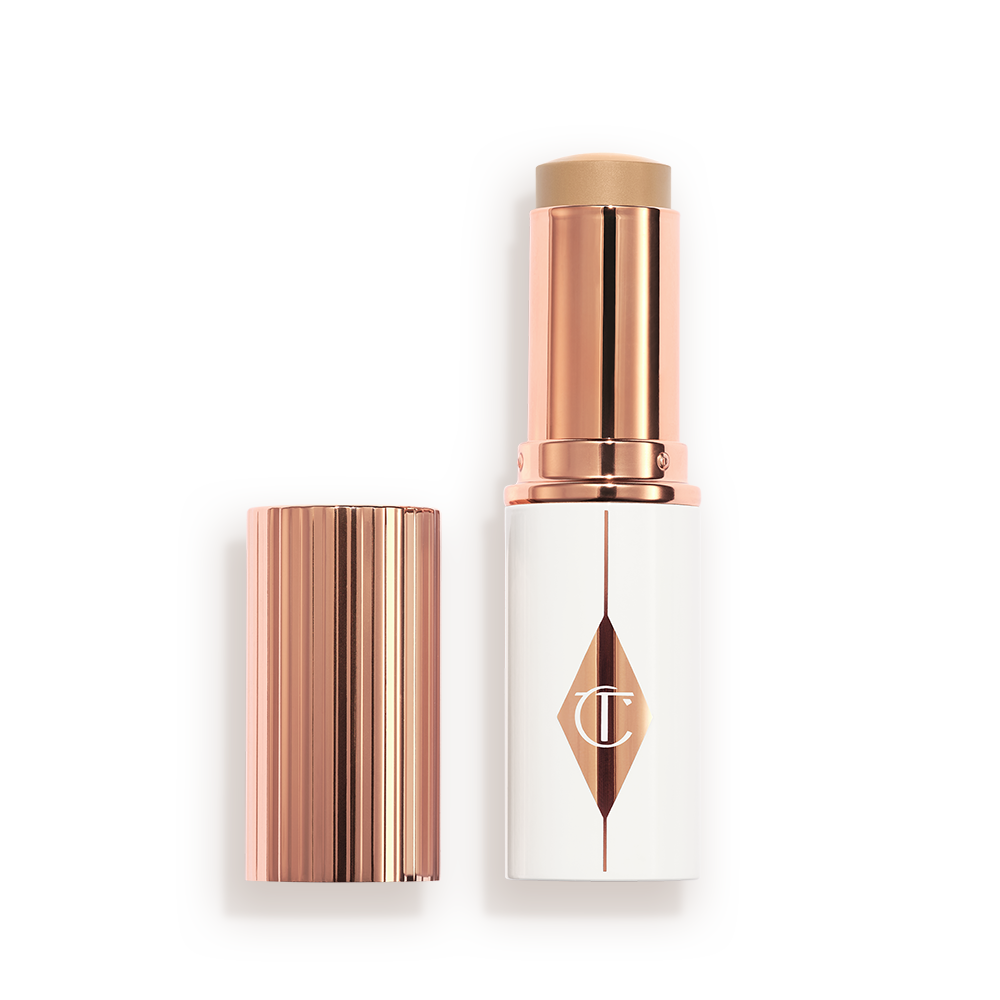
Contouring doesn't have to be time-consuming. For a quick daytime look, focus on just the hollows of the cheeks and a subtle line along the jawline. Skip the nose and forehead contour for a softer effect. Use a cream contour stick for one-step application—just swipe, blend, and go. For special occasions, you can layer more product for a dramatic, photogenic finish.
If you're new to contouring, practice on weekends when you have more time. Experiment with different placement and intensity until you find what flatters your face shape most. Remember, the goal is to enhance your natural beauty, not to create a mask.
Advanced Techniques: Strobing vs. Contouring
Strobing is a highlighting-only technique that uses light to define features, while contouring uses shadow. Some people prefer strobing for a more natural, dewy look. However, combining both can give you the best of both worlds—sculpted shadows and luminous highlights. Use a Hollywood Flawless Filter - 4.5 Medium Travel as a focused highlighter on the cheekbones for an ethereal glow that complements your contour.
Another advanced technique is “reverse contouring,” where you apply a lighter concealer or highlighter to the center of the face and contour the perimeter. This creates a lifting effect and is especially flattering for round or square face shapes.
Frequently Asked Questions About Face Contour Kits
Can I use a face contour kit on bare skin?
Yes, but it's not recommended for beginners. Cream contours can be applied directly to clean, moisturized skin and blended with a sponge. However, you'll get a more blended, natural look when applied over foundation or tinted moisturizer.
How do I clean my contour brushes?
Clean your brushes weekly with a gentle brush cleanser or mild soap to prevent product buildup and bacteria. For cream contours, brushes may need more frequent cleaning as the product can become sticky.
Can contouring cause breakouts?
Contouring products themselves don't typically cause breakouts, but if you use heavy creams or powders without proper cleansing, pores can become clogged. Always remove your makeup thoroughly at the end of the day, especially if you used cream contour.
Final Thoughts: Mastering the Art of Contouring
Contouring is a skill that takes practice, but with the right face contour kit and techniques, anyone can achieve a beautifully sculpted look. Whether you prefer cream or powder, the key is to choose products that suit your skin type and to blend meticulously. Start with a simple routine and gradually incorporate more advanced techniques as you become confident.
Ready to elevate your contouring game? Explore the full range of contour and sculpting products at Charlotte Tilbury. For a complete, curated experience, check out Charlotte’s Beautifying Eye Trends Kit - Eye Kit for eyes that complement your new sculpted cheekbones. Your journey to a flawless, sculpted face starts here!