The Art of Contouring: Step-by-Step Tutorial for Beginners Using Cream and Powder Contour Kits
By Charlottetilbury | Published: 2026-06-20
Category: How-to Guides
Learn how to contour like a pro with this beginner-friendly tutorial. Discover the differences between cream and powder contour kits, get tips for your face shape, and find the best sculpting products for a flawless finish.
Contouring is one of the most transformative makeup techniques—it can define your cheekbones, slim your nose, and create the illusion of a perfectly sculpted face. Yet for many beginners, the world of contour sticks, powders, and creams can feel overwhelming. Where do you start? Which formula is best for you? And how do you avoid the dreaded muddy or harsh lines?
In this comprehensive contouring tutorial, we’ll walk you through everything you need to know—from choosing between cream and powder contour to applying it based on your unique face shape. Whether you’re a complete novice or looking to refine your skills, these sculpting makeup tips will help you achieve a natural, camera-ready look. Along the way, we’ll highlight two of our favorite sculpting kits that are perfect for beginners: the SUPERSTAR SCULPT & GLOW KIT - CHEEK KIT and the BRONZED, BLUSHING BEAUTY KIT - MAGICAL SAVINGS.
Why Contour? The Power of Light and Shadow
Contouring is essentially an optical illusion. By placing a darker shade where shadows naturally fall (hollows of the cheeks, sides of the nose, temples, jawline) and a lighter shade where light hits (center of the forehead, bridge of the nose, under the eyes, chin), you can reshape and define your features. The key is blending—the goal is a seamless transition, not harsh stripes.
When you’re just starting out, it’s important to choose a contour kit for beginners that offers the right shade range and texture. Many brands, including Charlotte Tilbury, design their kits with user-friendly formulas and clear instructions, making it easier to learn the technique without guesswork.
Cream Contour vs. Powder Contour: Which Should You Choose?
One of the first decisions you’ll make is whether to use a cream or powder contour product. Both have their merits, and your choice often depends on your skin type, desired finish, and personal preference. Here’s a breakdown to help you decide.
Cream Contour
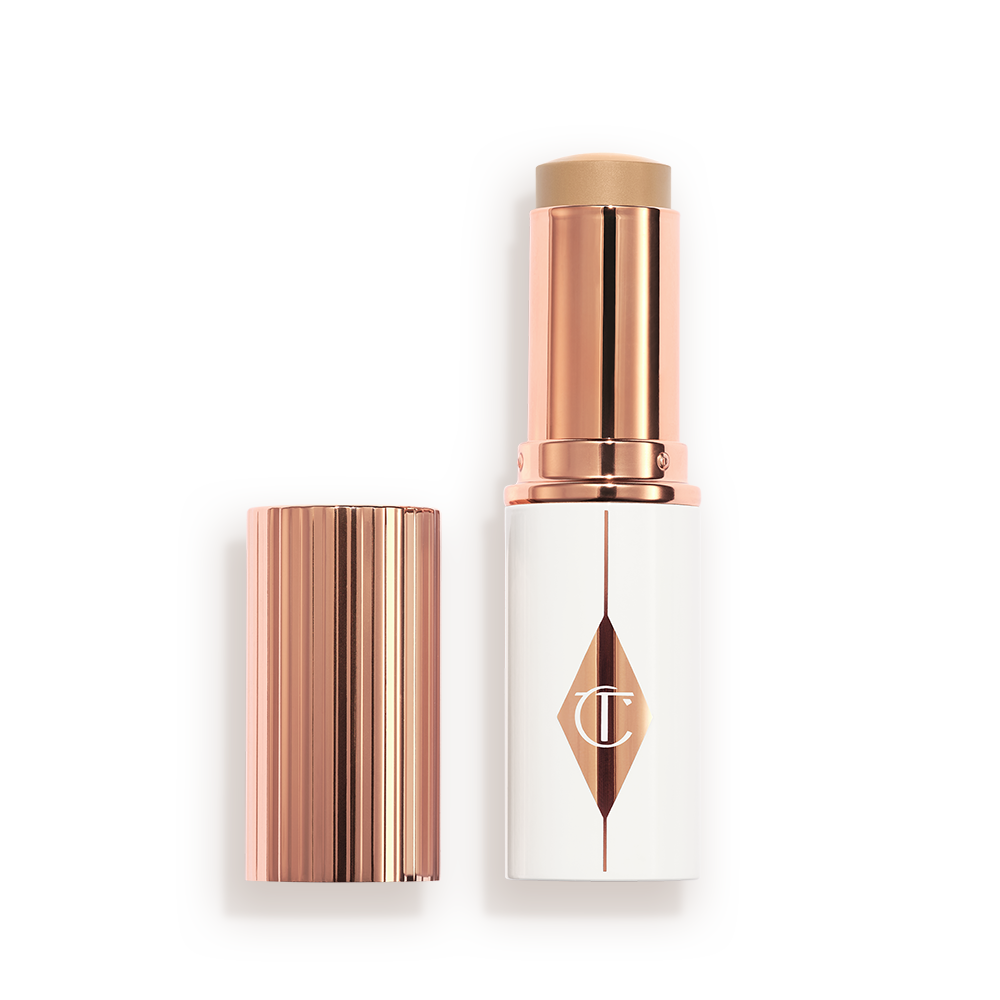
Cream contour products—such as sticks, creams, or liquid bronzers—are ideal for dry or normal skin because they blend easily and provide a dewy, skin-like finish. They are also great for beginners because you can apply them directly to the face and blend with a damp sponge or fingertips. Creams tend to look more natural on bare skin or over a light foundation, and they layer well with cream blushes and highlighters.
However, creams can be trickier to set on oily skin, and they may require a translucent powder to lock them in place. If you have oily or combination skin, you might prefer a powder formula for longevity.
Powder Contour
Powder contour products—typically matte bronzers or contour powders—are excellent for oily skin types because they absorb excess oil and stay put longer. They are applied with a fluffy brush, which makes blending easier and reduces the risk of harsh lines. Powders also allow for more buildable coverage, so you can start light and add more intensity as needed.
The downside is that powders can look dry or cakey on dehydrated skin, and they require a good brush technique to avoid a patchy finish. For beginners, a powder contour kit often comes with multiple shades and a brush, making it a convenient all-in-one solution.
Choosing the Right Contour Kit for Beginners
When selecting a contour kit, look for products that include both a contour shade (cool-toned brown) and a highlight shade (light, often with a subtle sheen). Avoid shades that are too warm or orange—they can look unnatural. The best contour kits for beginners also come with clear instructions or are part of a curated set that includes complementary products like blush or highlighter.
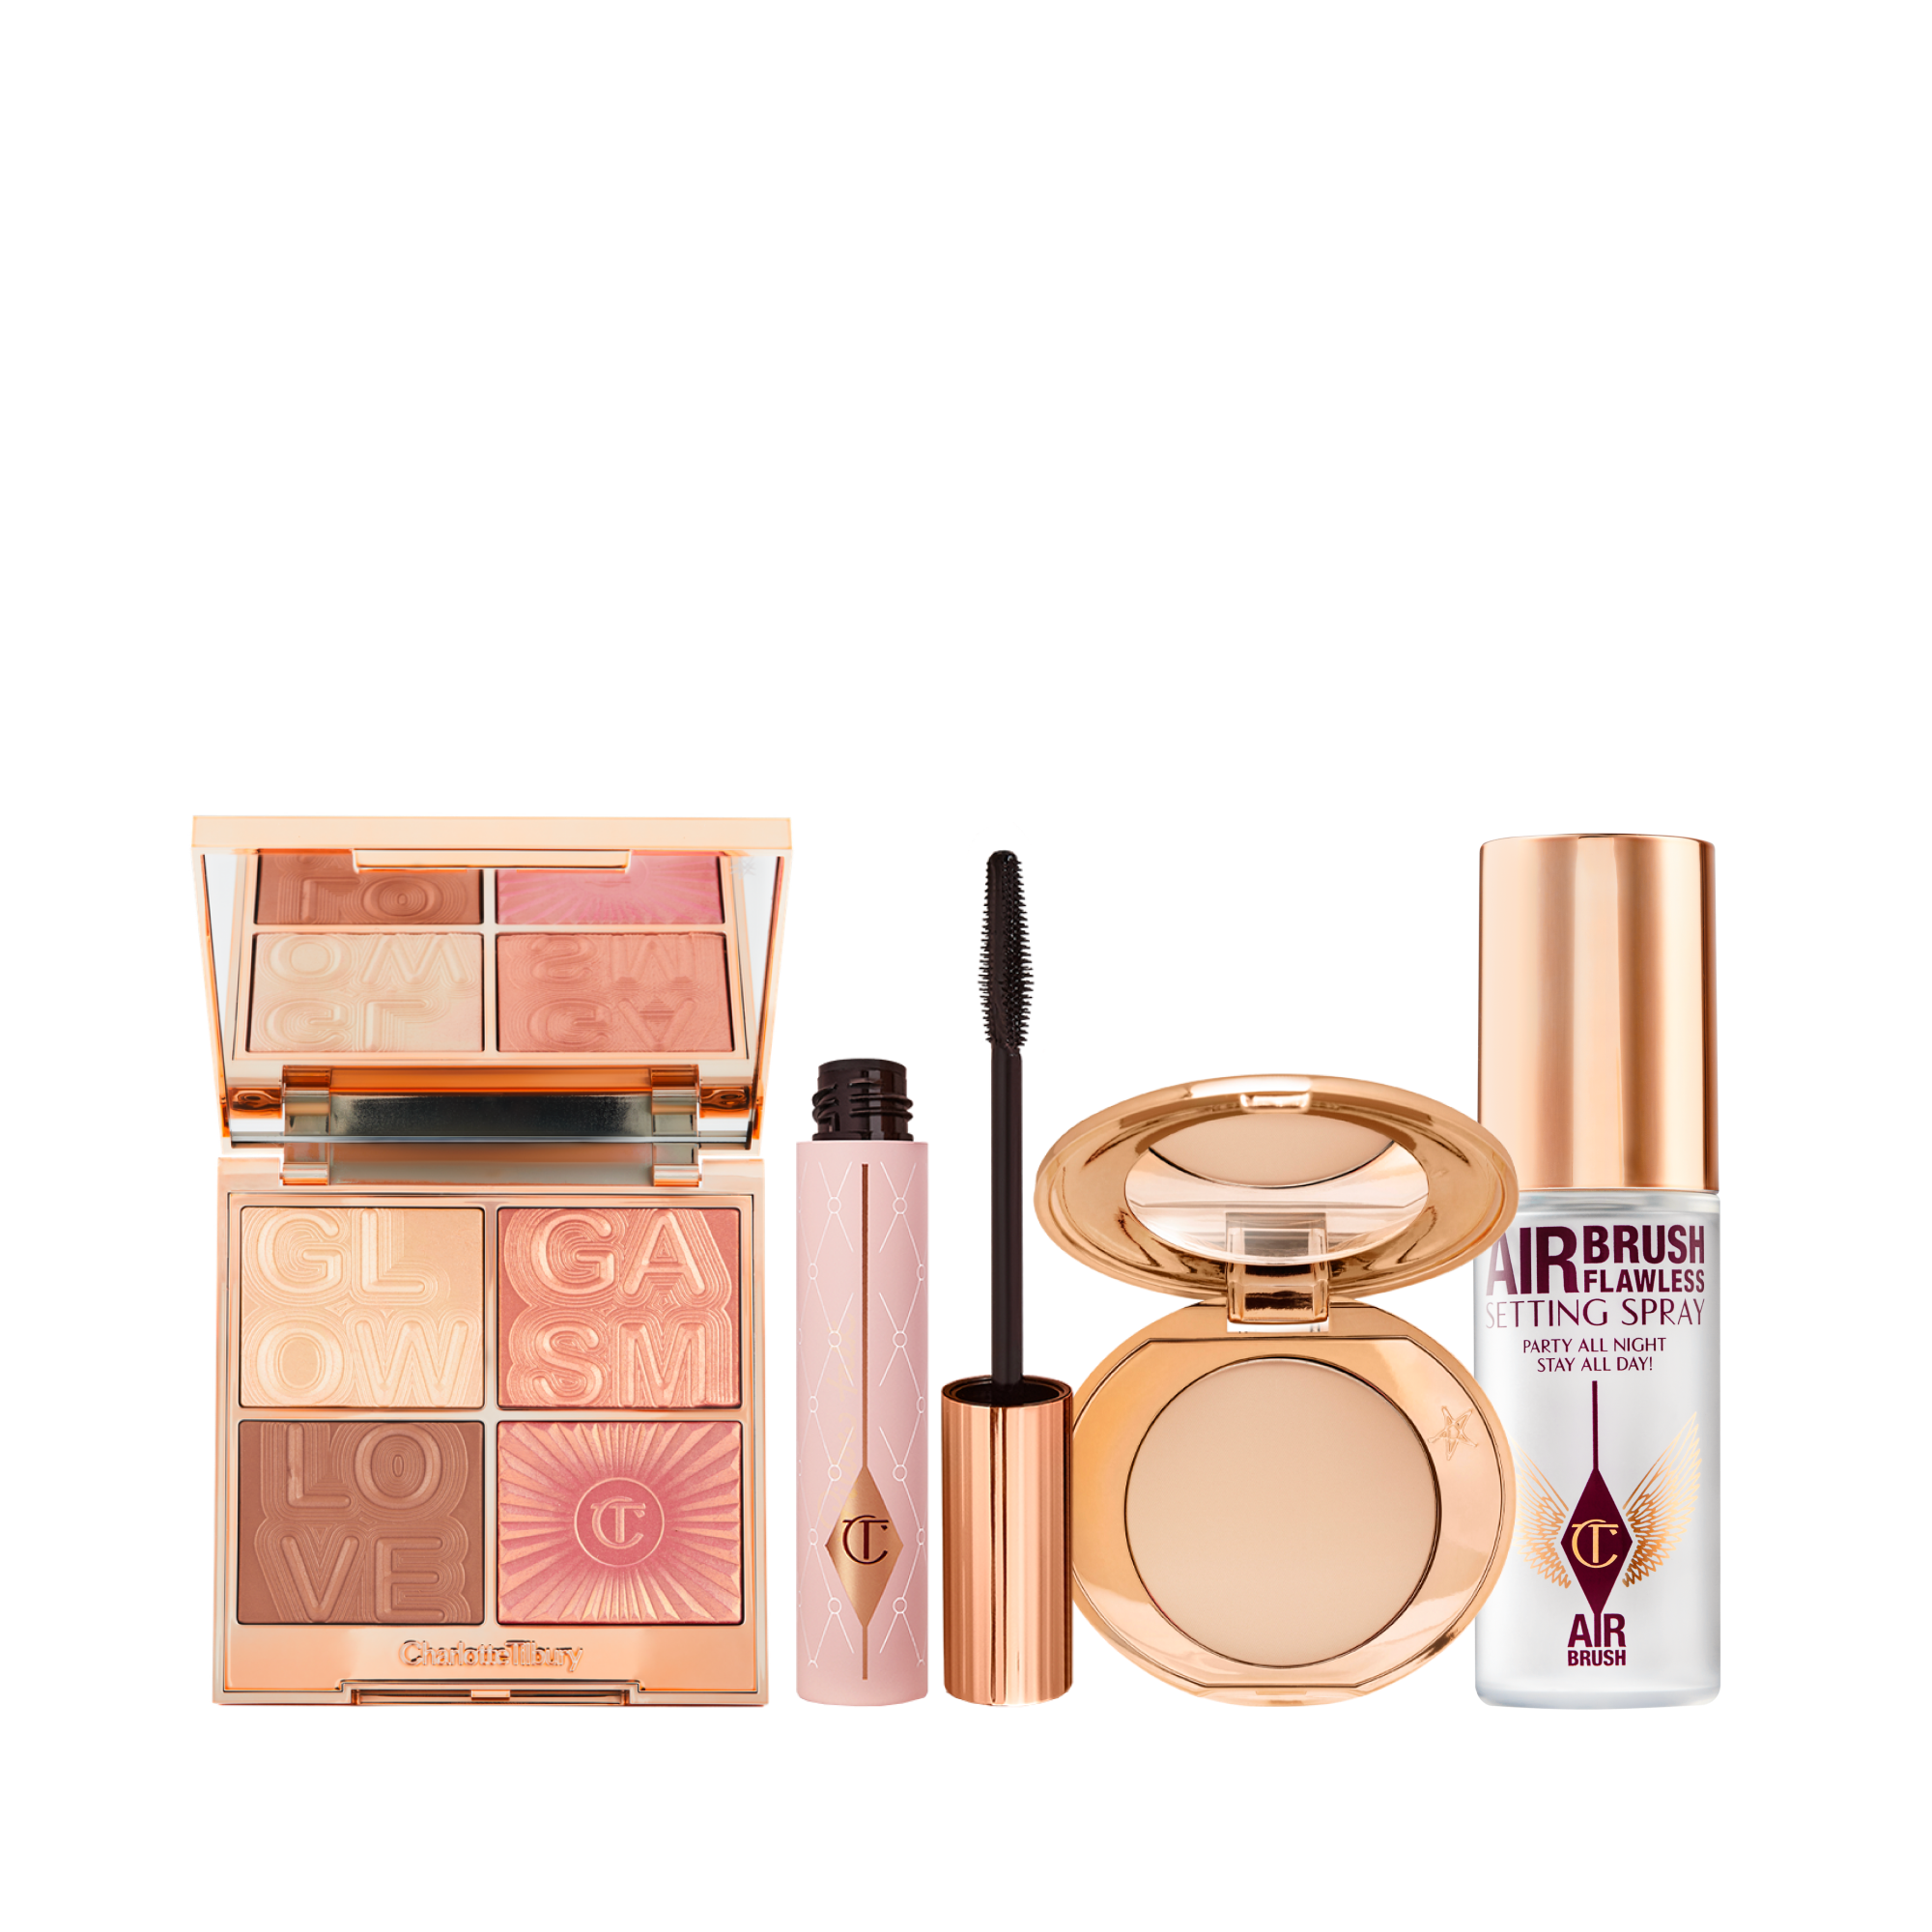
Two of our favorite entry-level kits are from Charlotte Tilbury. The SUPERSTAR SCULPT & GLOW KIT - CHEEK KIT combines a creamy contour shade with a luminous highlighter and a blush, giving you everything you need to define, glow, and flush in one compact palette. It’s perfect for those who want to dip their toes into contouring without buying multiple products.
For a more comprehensive set, the BRONZED, BLUSHING BEAUTY KIT - MAGICAL SAVINGS includes a bronzer, blush, and highlighter—all you need to create a sun-kissed, sculpted look. This kit is ideal for beginners because it offers a warm bronzer that doubles as a contour alternative for lighter skin tones, plus a blush and highlighter to complete the look.
Step-by-Step Contouring Tutorial for Beginners
Ready to try contouring yourself? Follow these steps to achieve a flawless, natural-looking sculpt.
Step 1: Prep Your Skin
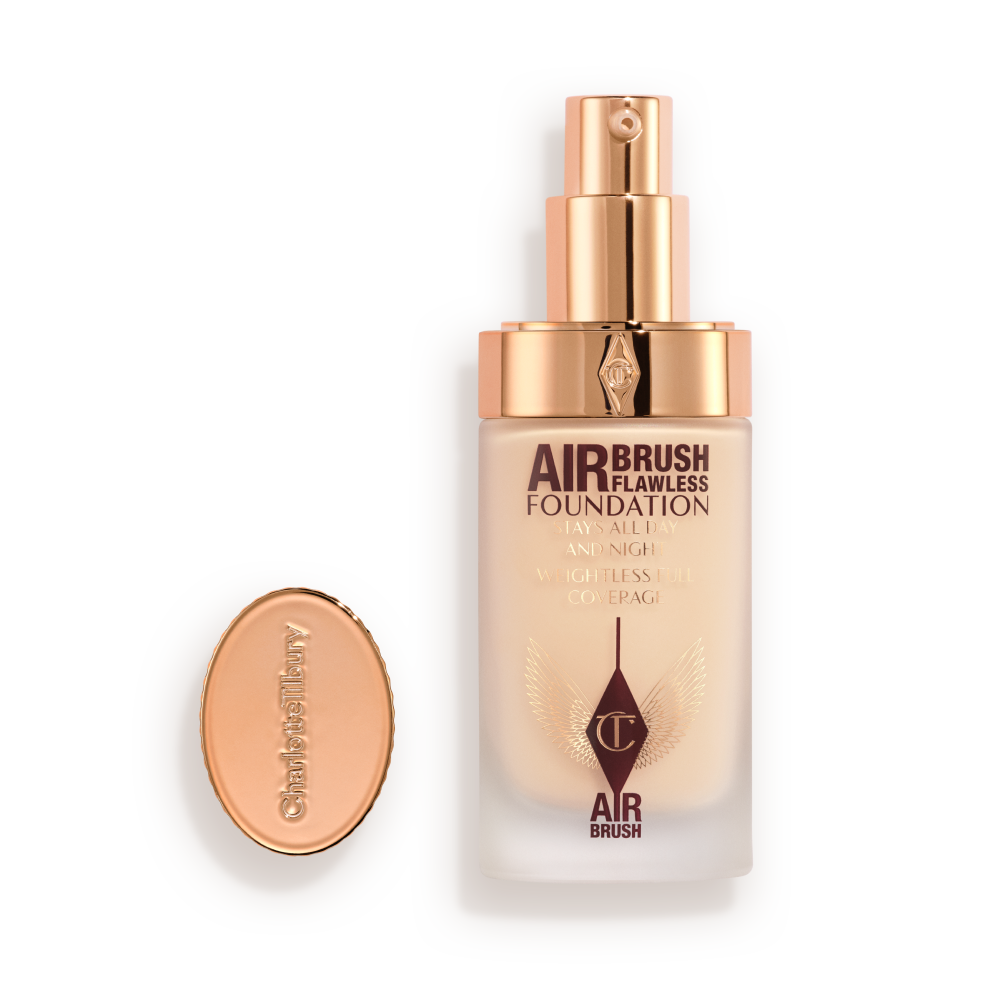
Start with a clean, moisturized face. Apply your foundation or tinted moisturizer as usual. For beginners, a medium-coverage foundation works best—it gives enough coverage to even out skin tone while allowing the contour to show through. Set your base with a light dusting of translucent powder if you’re using powder contour, or skip the powder if you’re using creams.
Step 2: Map Out Your Contour
Using a contour shade (from your kit or a single product), apply the product in the following areas:
- Cheekbones: Suck in your cheeks to find the hollows. Apply the contour just below your cheekbone, starting from the ear and stopping halfway toward the mouth.
- Forehead: Apply a small amount along your hairline to reduce the appearance of a large forehead.
- Nose: Apply a thin line on each side of your nose from the inner brow to the tip. Use a small brush for precision.
- Jawline: Apply along the jawbone to define the jawline and slim the face.
Remember: less is more. You can always add more product, but it’s hard to remove excess.
Step 3: Blend, Blend, Blend
Blending is the most critical step. Use a damp beauty sponge for cream products or a fluffy brush for powders. Blend in quick, light strokes—never drag the product. Start at the outer edge of the contour and blend inward. For the nose, blend downward toward the tip. The goal is to soften the edges so there are no visible lines.
Step 4: Add Highlight
Now apply your highlight shade to the high points of your face:
- Center of the forehead
- Bridge of the nose
- Under the eyes (in an inverted triangle shape)
- Cupid’s bow
- Center of the chin
Blend the highlight as you did the contour, using a clean sponge or brush. The contrast between the dark and light areas will create a sculpted effect.
Step 5: Set with Powder (Optional)
If you used cream contour, you can set it with a translucent powder to increase longevity. Use a large, fluffy brush and gently press the powder onto the contoured areas. For powder contour, this step is usually unnecessary unless you want extra matte finish.
Contouring for Different Face Shapes
Your face shape determines where to place contour and highlight for the most flattering results. Here’s a quick guide:
| Face Shape | Contour Placement Tips |
|---|---|
| Round | Focus on the temples, hollows of cheeks, and jawline to create angles. |
| Oval | Contour the sides of the forehead and jawline to shorten the face. |
| Square | Soften the jawline by contouring along the edges, and highlight the center of the forehead and chin. |
| Heart | Contour the temples and sides of the forehead to balance a wider forehead, and highlight the chin. |
| Diamond | Contour the cheekbones and temples, and highlight the forehead and chin to add width. |
Practice with your kit to see what works best for your unique features. The BRONZED, BLUSHING BEAUTY KIT - MAGICAL SAVINGS is especially versatile because its bronzer can be used as a contour for most face shapes, while the blush and highlighter add warmth and radiance.
Common Contouring Mistakes and How to Fix Them
Even beginners can achieve a great contour if they avoid these pitfalls:
- Harsh lines: Blend more! Use a clean sponge or brush to soften edges. If lines persist, dust a translucent powder over the area.
- Too dark or orange: Choose a contour shade that is one or two shades darker than your skin tone with a cool undertone. Avoid warm bronzers unless you want a sun-kissed look.
- Muddy appearance: This happens when you use too much product or blend too aggressively. Start with a light hand and build up gradually.
- Contour doesn’t last: Set cream contour with powder, and use a setting spray after your entire makeup routine.
Final Tips for Sculpting Makeup Success
As you practice, remember that contouring is an art, not a science. Every face is unique, so don’t be afraid to experiment. Start with a simple cream or powder contour kit for beginners, like the ones we mentioned, and watch tutorials to see techniques in action. With time and patience, you’ll develop a routine that makes you feel confident and sculpted.
If you’re looking for a complete kit that eliminates the guesswork, we highly recommend exploring the SUPERSTAR SCULPT & GLOW KIT - CHEEK KIT. It’s designed with a perfect contour shade, a luminous highlighter, and a subtle blush—everything you need to master the art of contouring in one sleek palette. Happy sculpting!