The Art of Contouring: How to Sculpt and Define Your Face with Cream and Powder Formulas
By Charlottetilbury | Published: 2026-06-08
Category: How-to Guides
Master the art of face sculpting with our expert guide to cream and powder contouring. Learn techniques, product picks, and tips for a naturally defined look.
Contouring is a transformative makeup technique that can enhance your natural bone structure, add dimension, and create a beautifully sculpted face. Whether you're a beginner or a seasoned pro, understanding the difference between cream and powder formulas is key to achieving a seamless, natural-looking finish. In this comprehensive guide, we'll walk you through the essentials of face sculpting, from choosing the right products to mastering application techniques.
Why Contouring Matters: The Science of Face Sculpting
Contouring is all about playing with light and shadow. By applying a darker shade to areas you want to recede (like the hollows of your cheeks or the sides of your nose) and a lighter shade to areas you want to bring forward (like the tops of your cheekbones or the center of your forehead), you can create the illusion of more defined bone structure. This technique has been used by makeup artists for decades, and with the right tools and products, anyone can master it.
Cream Contour vs. Powder Contour: Which One Is Right for You?
One of the first decisions you'll face when contouring is choosing between cream and powder formulas. Both have their unique advantages, and the best choice often depends on your skin type, desired finish, and skill level.
Cream Contour: For a Natural, Dewy Finish
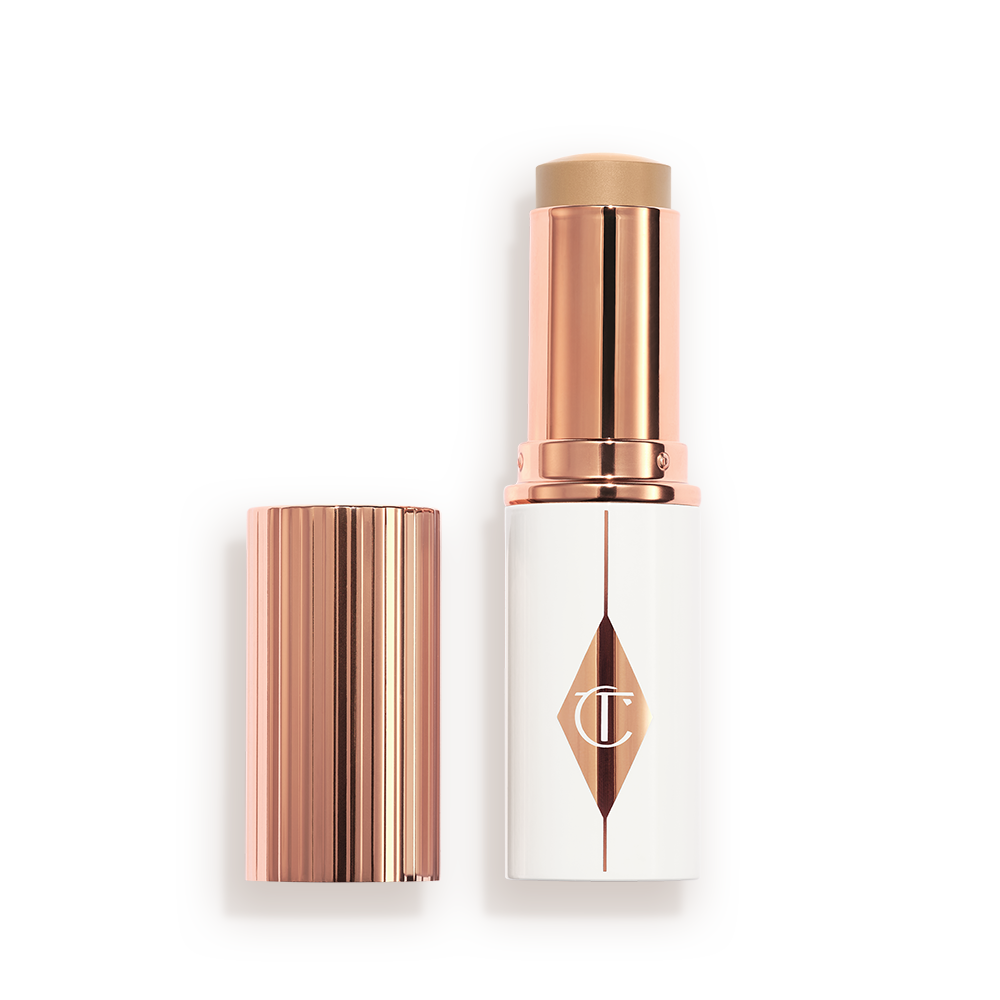
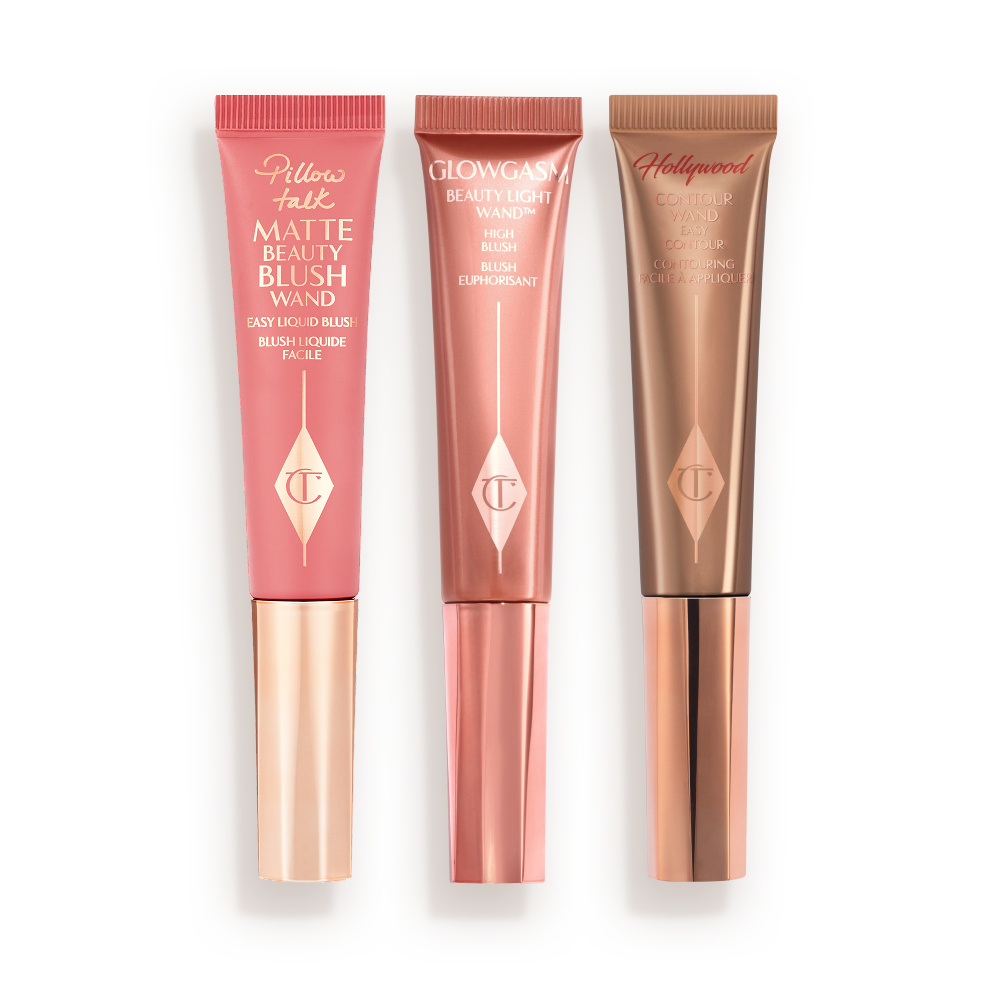
Cream contour products—such as sticks, palettes, or liquids—are ideal for dry or normal skin. They blend seamlessly into the skin, creating a natural, dewy finish that looks like a second skin. Creams are also great for layering, as they can be built up gradually without looking cakey. One of our favorite cream contour tools is the UNREAL BLUSH HEALTHY GLOW STICK - PRETTY GLOW, which can double as a contour for a soft, sculpted look. For a more targeted product, consider using a cream bronzer stick to define your cheekbones and jawline.
Pro tip: Apply cream contour before setting powder for a more blended, diffused effect. Use a damp beauty sponge or a synthetic brush to buff the product into the skin.
Powder Contour: For a Matte, Long-Lasting Look
Powder contours are perfect for oily or combination skin, as they help absorb excess oil and provide a matte finish. They also tend to be more forgiving for beginners, as they can be dusted on lightly and built up slowly. A classic powder contour shade can be applied with an angled brush to the hollows of the cheeks, temples, and jawline. To set your cream contour and ensure all-day wear, you can use a translucent setting powder like the AIRBRUSH FLAWLESS FINISH - 4 DEEP, which helps lock in your look while adding a soft-focus effect.
Step-by-Step Contouring Guide: Cream vs. Powder
Now that you know the difference, let's dive into a step-by-step routine for both formulas.
How to Contour with Cream Products
- Start with a hydrated base. Apply your foundation and concealer as usual, then let it set for a minute.
- Apply cream contour in key areas. Using a contour stick or cream product, draw lines along the hollows of your cheeks (suck in your cheeks to find the natural indentation), the sides of your nose, your temples, and your jawline.
- Blend, blend, blend. Use a damp sponge or a stippling brush to blend the edges. The key is to blend outward and upward for a lifted effect.
- Set with a translucent powder. Lightly dust a setting powder over the contoured areas to lock in the cream and prevent creasing.
How to Contour with Powder Products
- Apply your base makeup. Foundation, concealer, and set everything with a light layer of powder if needed.
- Use an angled brush. Dip your brush into a matte powder contour shade (2-3 shades darker than your skin tone). Tap off excess.
- Sweep and blend. Apply the powder in the same areas as cream contour—hollows of cheeks, temples, sides of nose, and jawline. Use circular motions to blend.
- Layer for intensity. If you want a more dramatic look, apply a second layer and blend again.
Common Contouring Mistakes and How to Avoid Them
Even with the best products, contouring can go wrong. Here are some common pitfalls to watch out for:
- Using the wrong shade: Your contour should be 2-3 shades darker than your natural skin tone, with a neutral or slightly cool undertone. Avoid shades that are too warm (orange) or too dark.
- Blending too little: Harsh lines are a dead giveaway. Always blend thoroughly, especially around the edges.
- Applying too much product: Start with a light hand and build up gradually. It's easier to add more than to remove excess.
- Neglecting to set cream contour: Cream products can crease or fade if not set with powder. Use a setting powder to ensure longevity.
Tools of the Trade: Brushes, Sponges, and More
Having the right tools can make or break your contouring application. Here's what we recommend:
| Tool | Best For | Tip |
|---|---|---|
| Angled contour brush | Powder contour | Use the flat side for precise application and the bristles for blending. |
| Damp beauty sponge | Cream contour | Dampen the sponge and use a bouncing motion to blend seamlessly. |
| Stippling brush | Cream or liquid contour | Ideal for building up coverage without disturbing the base. |
| Powder puff | Setting powder | Press the powder into the skin for a flawless finish. |
Blending Techniques for a Natural Look
Blending is the most critical step in contouring. For cream products, use a stippling motion with a damp sponge to diffuse the color. For powder products, use a fluffy brush and sweep in small circles. Always blend in the direction of your hairline to avoid streaks. A great way to practice is by using a contour kit that includes both cream and powder shades, allowing you to experiment with different finishes.
Contouring for Different Face Shapes
Every face shape benefits from contouring differently. Here's a quick guide:
- Round face: Focus on the hollows of the cheeks, temples, and jawline to create angles.
- Oval face: Contour the temples and under the cheekbones to add definition without making the face appear longer.
- Square face: Soften the jawline and forehead by contouring the corners and blending outward.
- Heart-shaped face: Contour the temples and the sides of the chin to balance a wider forehead.
- Diamond face: Contour the cheekbones and the jawline to soften the angular features.
Setting Your Contour for All-Day Wear
To make your contour last from morning to night, proper setting is essential. After applying cream contour, lightly dust a translucent setting powder over the area. For powder contour, a setting spray can help meld the powders into the skin and prevent fallout. A finely milled setting powder like the AIRBRUSH FLAWLESS FINISH - 4 DEEP is perfect for this step, as it blurs imperfections and locks in your look without adding weight.
Frequently Asked Questions About Contouring
Q: Can I use bronzer as contour?
A: Not exactly. Bronzer is typically warmer and used to add a sun-kissed glow, while contour is cooler and meant to create shadows. For a true sculpted look, stick to a dedicated contour product.
Q: How do I avoid looking muddy?
A: Use a light hand and blend thoroughly. Also, make sure your contour shade has a neutral or cool undertone—warm tones can look dirty.
Q: Is contouring still in style?
A: Absolutely! The trend has evolved from heavy, dramatic lines to soft, natural sculpting. Focus on enhancing your features rather than transforming them.
Conclusion: Embrace the Art of Face Sculpting
Contouring is a skill that takes practice, but with the right products and techniques, anyone can achieve a beautifully defined look. Whether you prefer the seamless blend of cream formulas or the matte longevity of powders, the key is to choose products that work with your skin type and desired finish. Start with small steps, experiment with different tools, and most importantly, have fun with it!
Ready to elevate your contouring game? Explore our selection of contour and sculpting products, including the versatile UNREAL BLUSH HEALTHY GLOW STICK - PRETTY GLOW and the essential AIRBRUSH FLAWLESS FINISH - 4 DEEP. Shop now and discover your perfect sculpting tools!