How to Apply Highlighter for Different Face Shapes: A Pro Guide to Sculpting with Light
By Charlottetilbury | Published: 2026-06-19
Category: How-to Guides
Learn how to apply highlighter for every face shape—oval, round, square, heart, and diamond. Discover pro tips, placement techniques, and the best glow-enhancing products like the Luxury Palette Pillow Talk and Hollywood Contour Wand for a luminous, sculpted finish.
Highlighter is arguably the most transformative product in your makeup bag. When applied correctly, it doesn't just add shimmer—it sculpts, lifts, and enhances your natural bone structure. But here's the secret that many beauty enthusiasts overlook: highlighter placement should be tailored to your unique face shape. A one-size-fits-all approach can leave your features looking unbalanced instead of radiantly defined. In this professional guide, we'll walk you through exactly how to apply highlighter for oval, round, square, heart, and diamond face shapes, using techniques that create dimension and a gorgeous, lit-from-within glow. Whether you're a makeup novice or a seasoned pro, mastering these placement strategies will elevate your entire glow makeup routine.
Why Face Shape Matters for Highlighter Application
Before diving into placement maps, it's essential to understand the role of highlighter in facial contouring. Unlike bronzer, which adds shadow and depth, highlighter attracts light to specific areas, making them appear more prominent. The goal is to balance your face's natural proportions: bringing attention to areas you want to emphasize while subtly minimizing others. When you align your highlighter application with your face shape, you create harmony—light hits the right spots, and your features look naturally lifted rather than haphazardly shimmering.
The Universal Highlighter Placement Zones
No matter your face shape, certain areas universally benefit from highlighter. These include the tops of the cheekbones (the highest point), the brow bone (to lift the eye area), the inner corners of the eyes (to brighten and open up the gaze), and the cupid's bow (to accentuate the lips). However, for a truly sculpted effect, you'll need to adjust these placements slightly depending on your bone structure. Let's break it down by face shape.
Highlighter for Oval Face Shapes
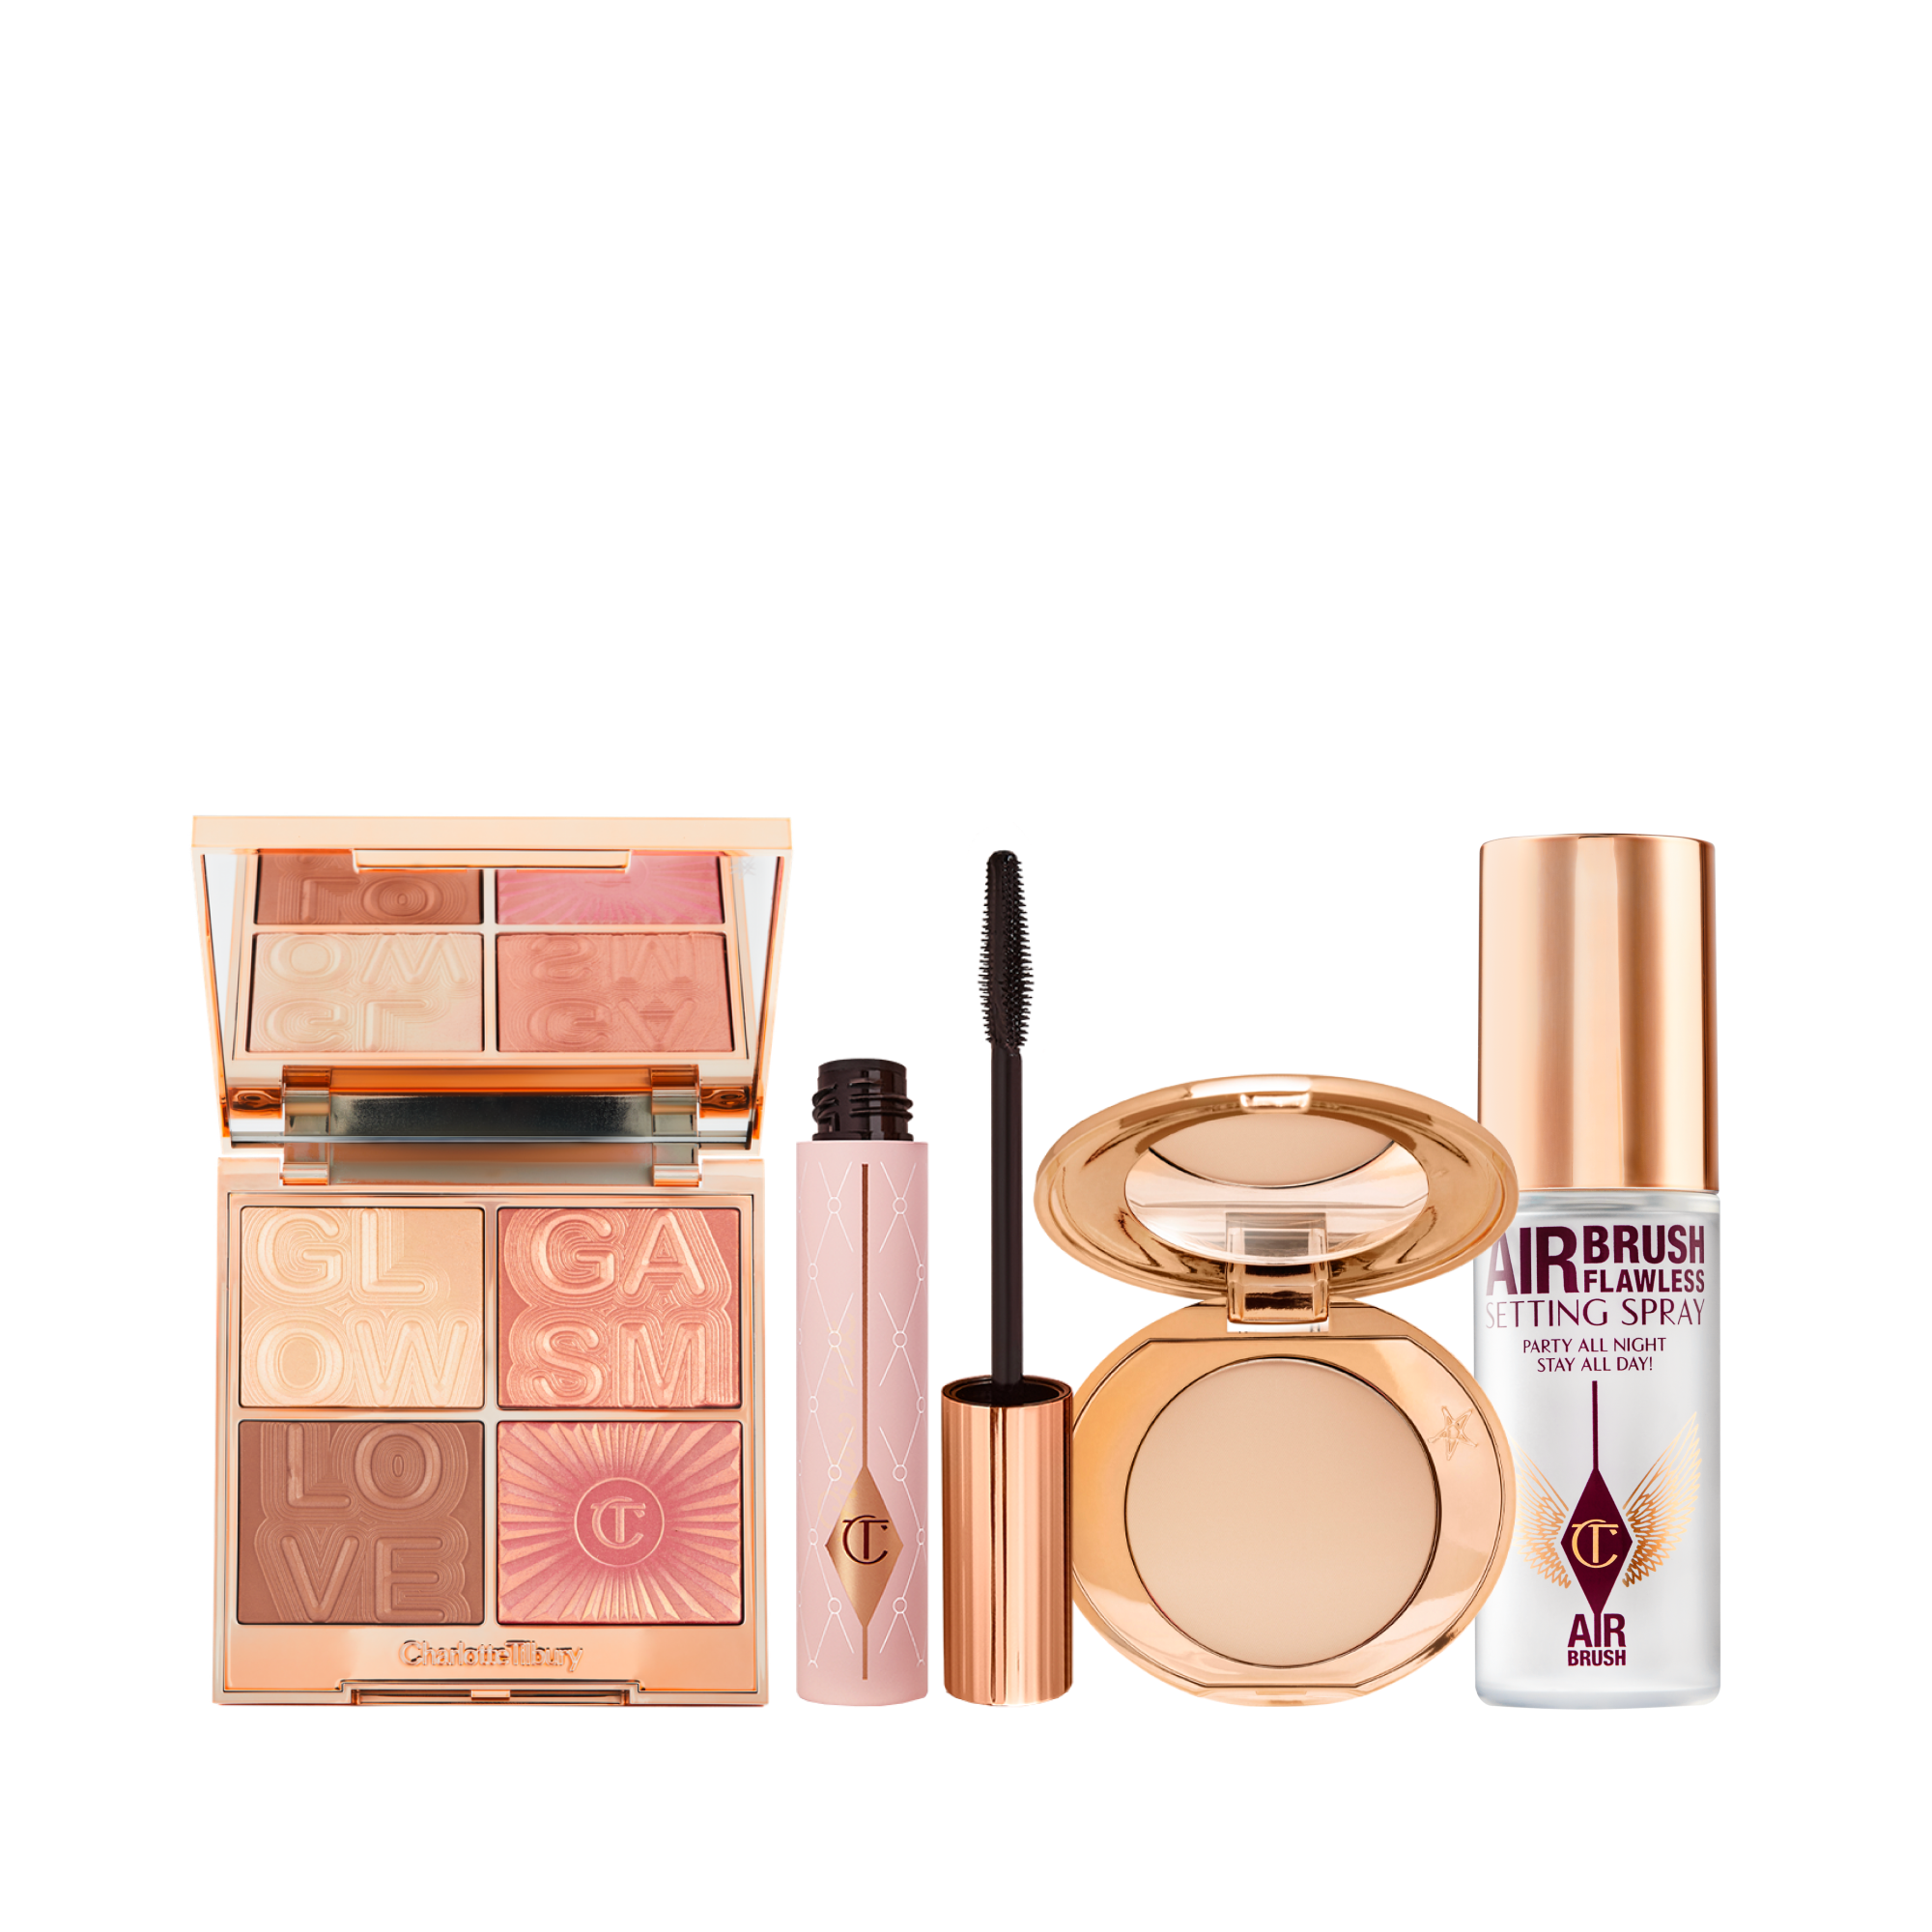
An oval face is often considered the ideal shape because it's naturally balanced—the forehead and jawline are roughly the same width, and the length is about one and a half times the width. With an oval face, you want to maintain that harmony while adding dimension. Focus highlighter on the very tops of the cheekbones, blending slightly upward toward the temples. This technique enhances your natural bone structure without widening the face. For the center of the face, apply a tiny amount down the bridge of the nose and on the chin to create a soft, balanced glow. Avoid placing highlighter too far forward on the cheeks, as this can make the face appear longer. Pro tip: Use a fan brush for a diffused, ethereal finish that doesn't overpower your features. If you're looking for a palette that offers multiple highlight shades perfect for this, consider the Luxury Palette Pillow Talk, which features a silky, buildable highlighter that blends seamlessly on oval faces.
Highlighter for Round Face Shapes
Round faces are characterized by soft curves, full cheeks, and a similar width and length. The goal here is to create the illusion of length and definition. Apply highlighter slightly higher on the cheekbones than you might think—almost at the outer edge of the eye socket, blending diagonally upward toward the temples. This vertical placement elongates the face and draws the eye outward. Avoid applying highlighter directly on the fullest part of the cheeks, as this can make the face appear wider. Instead, keep the glow concentrated on the high points: the brow bone, the bridge of the nose (but only a thin line), and the cupid's bow. For the chin, apply a tiny dot just below the lip to draw the eye downward, creating a longer silhouette. To achieve a seamless blend on round faces, a liquid or cream formula works beautifully—try using a product like the Hollywood Contour Wand in a lighter shade for a targeted, sculpted highlight that stays put all day.
Highlighter for Square Face Shapes
Square faces feature a strong, defined jawline and a forehead that is roughly the same width as the jaw. The aim is to soften those angular edges while highlighting the center of the face. Apply highlighter to the tops of the cheekbones, but blend it toward the center of the face rather than the temples. This inward motion draws attention to the middle, creating a softer, more rounded appearance. For the forehead, apply a small amount in the center (not across the entire brow bone), and for the jawline, skip highlighter entirely—focusing on bronzer below the jawline is more effective for softening. Instead, highlight the chin lightly to add a subtle focal point. Square faces also benefit from a touch of highlighter on the inner corners of the eyes to open up the eye area and balance the lower face's strength. A powder highlighter with a fine, non-glittery finish is ideal for this shape because it adds luminosity without emphasizing the angular jaw.
Highlighter for Heart Face Shapes
Heart-shaped faces have a wider forehead and cheekbones that taper down to a narrow, pointed chin. The key to highlighting this shape is to balance the upper and lower halves. Focus highlighter on the outer edges of the cheekbones, blending downward and inward toward the center of the cheeks. This creates width in the lower portion of the face, making the chin appear less pointed. For the forehead, apply highlighter only at the very center, just above the brow bone, to avoid making the forehead look broader. A tiny highlight on the cupid's bow is also excellent for drawing attention to the lips, which is often a strength on heart faces. Avoid placing highlighter directly on the chin, as this can emphasize its narrowness. Instead, use a touch of blush on the apples of the cheeks to add fullness. For a soft, romantic glow, cream highlighters are fantastic on heart faces because they blend easily and create a dewy, natural finish that doesn't settle into fine lines.
Highlighter for Diamond Face Shapes
Diamond faces are defined by high, prominent cheekbones and a narrow forehead and jawline. This shape is already naturally sculpted, so highlighter should enhance the cheekbones without overwhelming the delicate features. Apply highlighter directly on the tops of the cheekbones—the highest point of the face—and blend slightly outward and downward to soften the angularity. For the forehead, place highlighter in the center to add width, and for the chin, apply a small amount to balance the narrowness. Diamond faces can also benefit from highlighting the brow bone to lift the eye area. The goal is to create a soft, oval-like illusion by widening the forehead and chin areas while letting the cheekbones shine. A luminous but subtle highlighter is best for this shape to avoid looking too sharp; think of a balm-like formula that melts into the skin.
Pro Tips for Flawless Highlighter Application
Regardless of your face shape, these tips will elevate your highlighter game. First, always prep your skin with a hydrating primer to ensure the highlighter glides on smoothly and lasts. Second, use the right tool—a damp beauty sponge for cream highlighters, a tapered brush for powders, and your fingertips for liquids. Third, build gradually: start with a light hand and layer until you reach your desired intensity. Fourth, consider your skin tone: fair skin suits champagne or pearl tones, medium skin looks best with rose gold or peach, and deep skin glows with bronze or gold. Fifth, always blend well—harsh lines ruin the natural effect. Finally, don't forget to set your highlighter with a light dusting of translucent powder if you're using a cream formula, especially on oily skin types.
How to Pair Highlighter with Other Face Products
Highlighter works best when it's part of a cohesive sculpting routine. For a fully defined look, combine it with bronzer and blush. Use bronzer to create shadows (under cheekbones, along the hairline, and under the jaw), blush to add a healthy flush (on the apples of the cheeks), and highlighter to bring light to the high points. The sequence matters: apply bronzer first, then blush, and finish with highlighter to avoid muddying the glow. For a quick everyday look, you can skip bronzer and just use blush and highlighter for a fresh, natural finish. If you're new to contouring, starting with a multi-purpose palette like the one in the Luxury Palette Pillow Talk can simplify the process, as it includes complementary shades for bronzing, blush, and highlighting in one compact.
Common Highlighter Mistakes to Avoid
Even pros make missteps. Avoid applying highlighter too low on the cheeks, as this can drag the face down. Don't use a highlighter that's too dark or too light for your skin tone—it should enhance, not contrast. Steer clear of chunky glitter formulas that emphasize texture; instead, opt for finely milled powders or creamy liquids. Also, avoid highlighting areas with blemishes or texture, as the light will draw unwanted attention. Finally, don't forget to blend your highlighter into your hairline for a seamless transition, especially if you're using a powder formula.
Final Thoughts: Sculpt with Light
Mastering highlighter application for your face shape is one of the quickest ways to elevate your makeup routine. It's not just about adding sparkle—it's about using light to create dimension, balance, and a radiant, healthy-looking complexion. By understanding where to place your glow based on your unique features, you can achieve a professional-level sculpted look at home. Whether you prefer a soft, everyday sheen or a bold, luminous highlight, the key is confidence and practice. Start with the tips above, experiment with different formulas and placement, and soon you'll be highlighting like a pro.
Ready to achieve your most radiant look? Explore the Hollywood Contour Wand for a targeted, sculpted glow that defines your cheekbones with precision. Its creamy formula blends effortlessly and is perfect for customizing highlighter placement for any face shape. Add it to your collection today and let your natural beauty shine through.