The Art of Face Contouring: A Step-by-Step Guide for Beginners
By Charlottetilbury | Published: 2026-05-28
Category: How-to Guides
Master the art of face contouring with this step-by-step guide for beginners. Learn essential tips, best products, and techniques to sculpt and define your features naturally.
Face contouring might seem like a makeup artist's secret, but with the right tools and techniques, anyone can master it. Whether you're aiming for a subtle daytime definition or a dramatic, sculpted look for a night out, contouring allows you to enhance your natural bone structure. This beginner-friendly guide will walk you through everything you need to know, from choosing the right products to applying them like a pro.
What Is Face Contouring and Why Should You Try It?
Contouring is a makeup technique that uses light and shadow to redefine the face's shape. By applying a darker shade to areas you want to recede (like the hollows of your cheeks or the sides of your nose) and a lighter shade to areas you want to bring forward (like the tops of your cheekbones or the bridge of your nose), you create the illusion of more defined features. It's not about changing your face—it's about enhancing what you already have.
For beginners, the key is to start subtle. The goal is a natural-looking enhancement that doesn't scream "I'm wearing contour." With practice, you'll learn how to adapt the technique to your unique face shape.
Essential Tools and Products for Contouring
Before you start, you'll need a few key items. Quality tools make a significant difference in blending and precision. Here's what to have on hand:
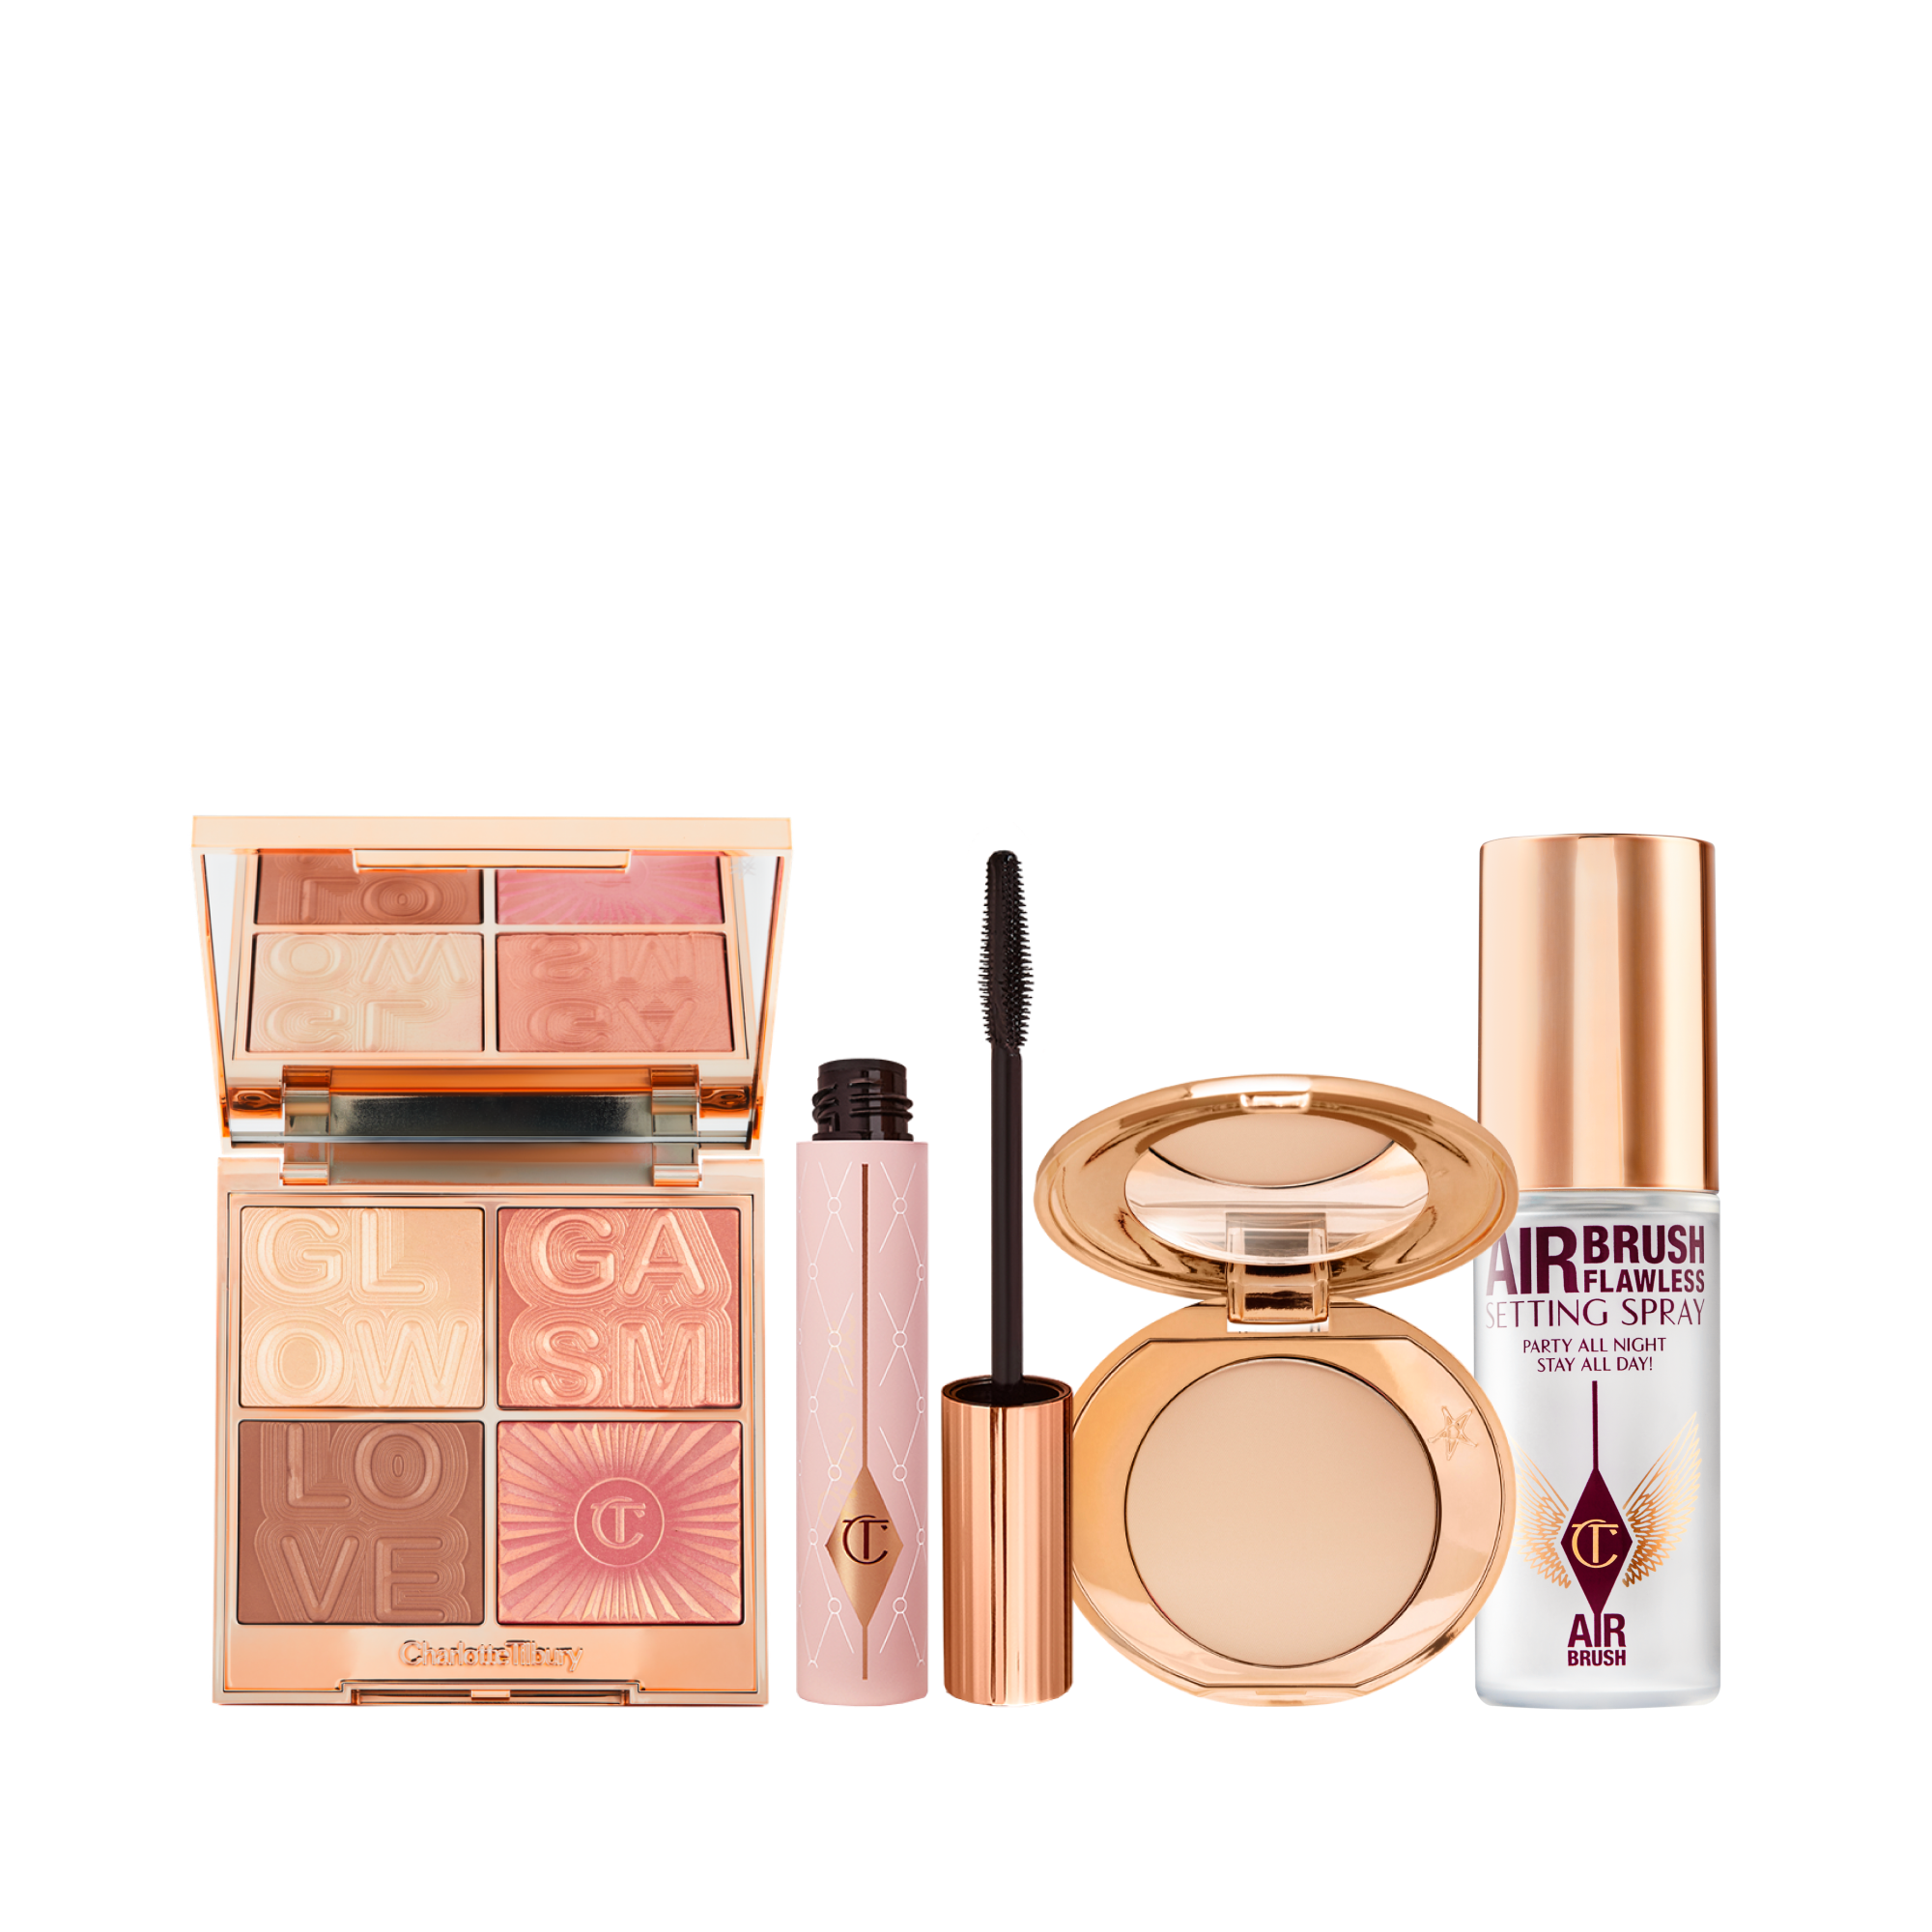
- Contour product: Choose a shade that is 2-3 shades darker than your natural skin tone. Cream formulas are beginner-friendly because they blend easily, while powder contours work well for oily skin. For a flawless finish, consider starting with a trusted powder like the Airbrush Flawless Finish - 2 Medium to set your cream contour or as a standalone product.
- Highlight product: A lighter shade (concealer or powder) to apply on the high points of your face.
- Brushes: A dense, angled brush for precise application of contour, and a fluffy brush for blending. The Powder & Sculpt Brush - Rose Gold & Night Crimson is an excellent choice for both applying and blending contour powder seamlessly.
- Sponge or blender: For cream products, a damp beauty sponge helps achieve a skin-like finish.
- Setting spray: To lock everything in place and prevent your hard work from fading.
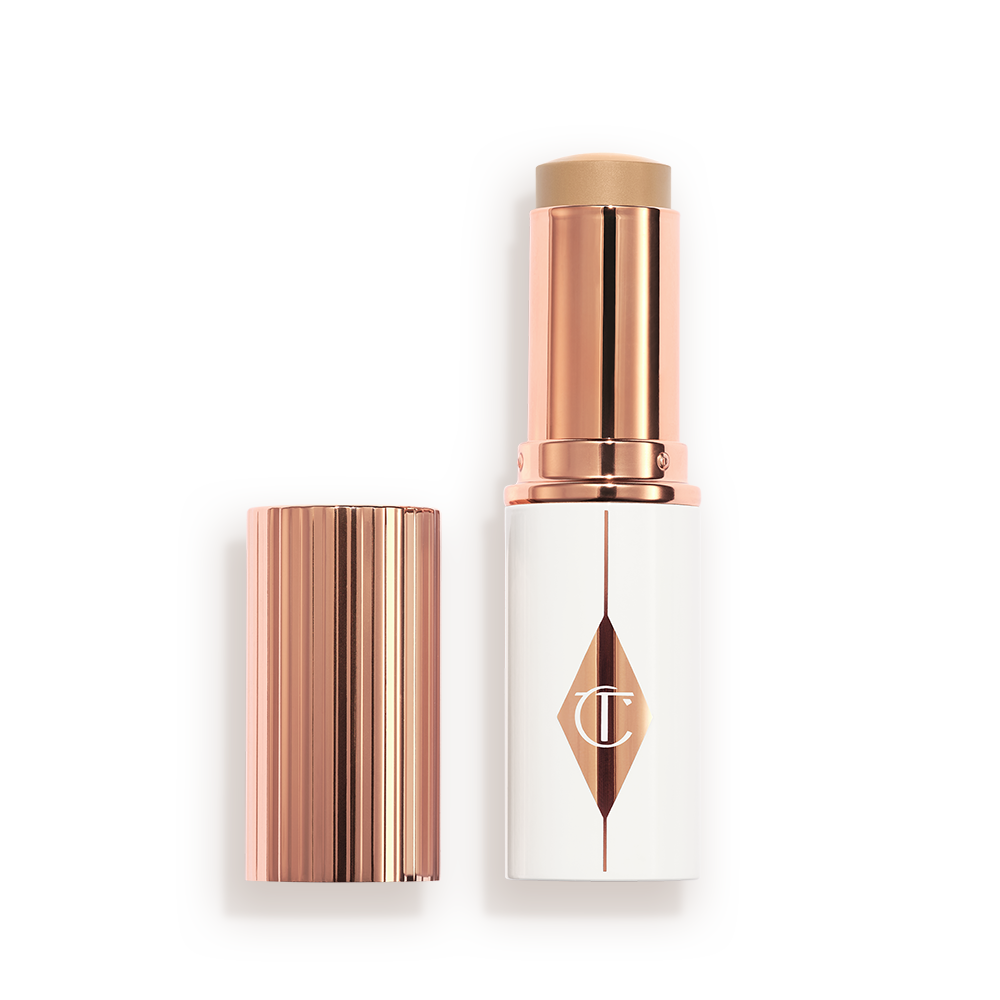
Remember, you don't need a dozen products. A simple kit with a contour stick, a highlighting concealer, and a good brush will get you started.
How to Contour Your Face: Step-by-Step
Follow these steps to create a perfectly sculpted face. We'll use a general approach that works for most face shapes, with tips to adjust later.
Step 1: Prep Your Skin
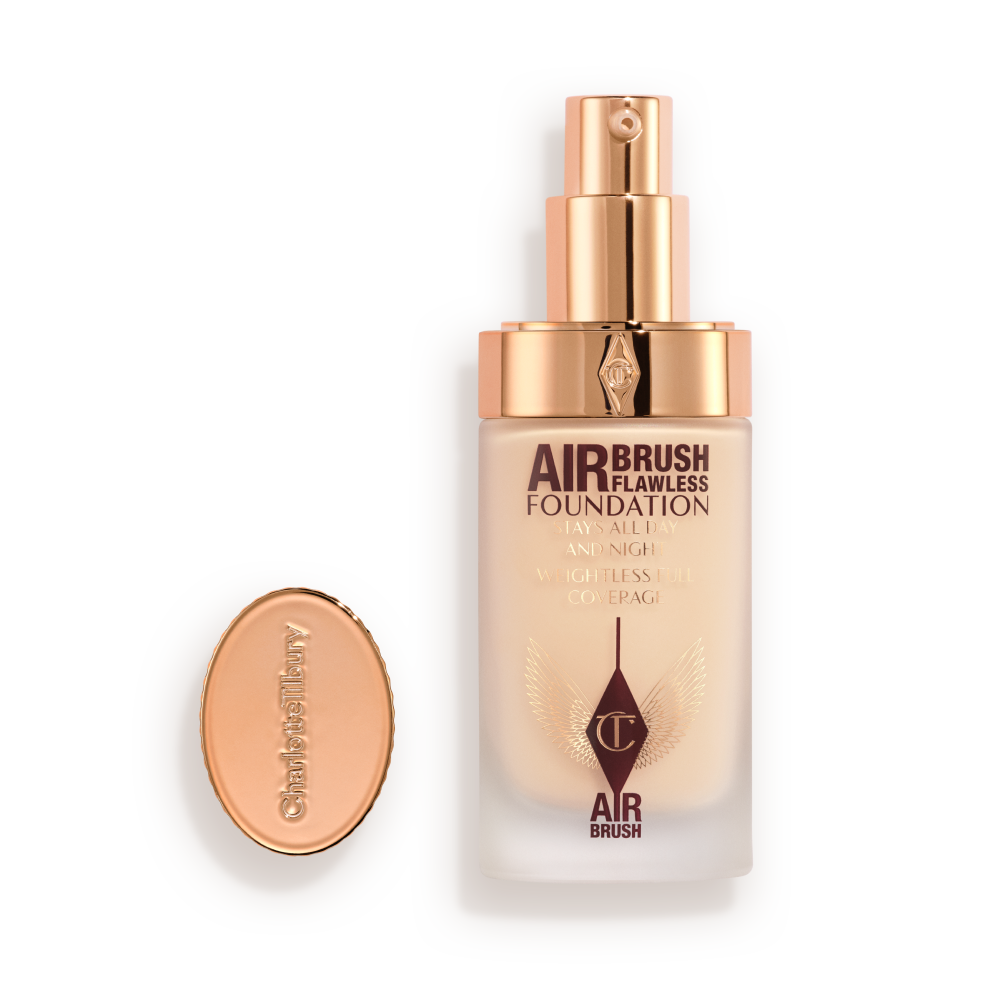
Start with a clean, moisturized face. Apply your primer and foundation as usual. For contouring, a matte foundation often works best because it provides a smooth canvas. Let your base set for a minute before moving on.
Step 2: Apply Contour to the Hollows of Your Cheeks
Using your brush, apply your contour product just below your cheekbones. To find the right spot, make a fish face or suck in your cheeks. The hollow that appears is where the contour should go. Draw a line from your ear toward the corner of your mouth, stopping about halfway across your cheek.
Step 3: Contour Your Jawline and Forehead
Apply a thin line of contour along your jawbone to define it and make your face look slimmer. On your forehead, apply contour at the hairline to reduce the appearance of a larger forehead. Blend these areas with a damp sponge or a clean brush, using light, tapping motions.
Step 4: Define Your Nose (Optional)
For a slimmer nose, apply two thin lines of contour down the sides of your nose, from the brow bone to the tip. Blend with your finger or a small brush. Be gentle—this area is easy to overdo.
Step 5: Apply Highlighter
Now bring the light back. Apply your highlight product to the tops of your cheekbones, the bridge of your nose, your cupid's bow, the center of your forehead, and your chin. This creates the contrast that makes contouring pop.
Step 6: Blend, Blend, Blend
Blending is the most crucial step. Use a clean, fluffy brush or a damp sponge to soften all the lines. There should be no harsh edges—only seamless transitions between light and shadow. If you're using cream products, a sponge works wonders. For powders, a light hand with a big brush is key.
Step 7: Set with Powder and Spray
If you used cream contour, lightly dust a translucent powder over the area to set it. Then finish with a setting spray to lock everything in. The Airbrush Flawless Setting Spray - Original 100 ml is a fan favorite for keeping your contour intact all day without feeling heavy.
Contouring for Different Face Shapes
One size doesn't fit all. Here's how to adjust your technique based on your face shape:
| Face Shape | Contour Placement | Highlight Placement |
|---|---|---|
| Round | Focus on the temples, hollows of cheeks, and jawline to add angles. | Center of forehead, under eyes, and chin to elongate the face. |
| Oval | Light contour on the sides of the forehead and under cheekbones to add width. | Cheekbones, bridge of nose, and cupid's bow. |
| Square | Soften the jawline by applying contour along the jawbone, blending downward. | Center of forehead and chin to draw attention inward. |
| Heart | Contour the temples and the tip of the chin to balance a wider forehead. | Cheekbones and center of forehead. |
| Diamond | Light contour on the cheekbones to reduce width, and on the temples. | Forehead and chin to add balance. |
Experiment with these placements to see what feels most natural on your face.
Common Contouring Mistakes and How to Avoid Them
Even pros slip up sometimes. Here are the most common beginner mistakes and how to fix them:
- Using the wrong shade: Your contour should mimic a natural shadow. Too dark, and it looks like dirt. Too light, and it won't show. Stick to a shade that is 2-3 shades darker than your skin tone.
- Not blending enough: Harsh lines are a dead giveaway. Take your time to blend until you can't see where the product starts or ends.
- Contouring in the wrong place: Don't just draw a line randomly. Feel your bone structure to find the hollows of your cheeks and the natural shadows of your face.
- Skipping setting powder or spray: Contour can fade or crease without a setting product. A good setting spray keeps everything in place, especially on long days.
- Overdoing it: Less is more, especially for daytime. Start with a light hand and build up slowly.
Top Tips for a Natural-Looking Contour
Want your contour to look like you were born with perfect cheekbones? Keep these tips in mind:
- Lighting matters: Apply your makeup in natural light if possible. Overhead bathroom lights can create shadows that trick you into applying too much product.
- Use a mirror with magnification: It helps you see imperfections up close.
- Blend downward: Always blend your contour downward toward your neck, not upward, to avoid a muddy look.
- Layer cream and powder: For extra staying power, use a cream contour first and then set it with a powder contour in the same shade.
- Practice on your hand first: If you're new to a product, test the shade and blendability on the back of your hand before applying to your face.
Conclusion: Start Sculpting with Confidence
Contouring is an art, but it's one you can learn with patience and practice. By following this step-by-step guide, choosing the right products, and adjusting your technique to your face shape, you'll be able to create a beautifully defined look that enhances your natural features. Remember, the best contour is the one that looks like you—only more radiant.
Ready to start your contouring journey? Explore the Powder & Sculpt Brush - Rose Gold & Night Crimson to get the perfect application tool, and don't forget to lock in your look with a setting spray for all-day wear.